Introduction
If your belt is damaged, or snapped you will need to replace it. Follow these steps on how to do so!
You will need the following tools for removal:
5mm Allen Key
Ratcheting Wrench or Breaker Bar
5mm Allen Key bit or socket with adaptor to connect to ratcheting wrench
Heat Gun or hair dryer
Optional but will make bolt removal easier
15mm Wrench
Blue Locite
Step 1
To begin, you must remove the rear wheel. Watch the following video for instructions on removing, and reinstalling the rear wheel.
You need to unclip the shifter cables from the hub, and remove the wheel. This may be easier if you can get someone to help you with it!
With the wheel off, the belt will be loose, making the next steps easier to perform!
*Video courtesy Riese & Müller via youtube.com

Step 2
Grab your 5mm Allen Key bit and ratchet. Alternatively you can use a standard 5mm Allen Key IF the head is in very good condition!
Ensure the tool head is firmly seated in the bolt before starting to loosen it!
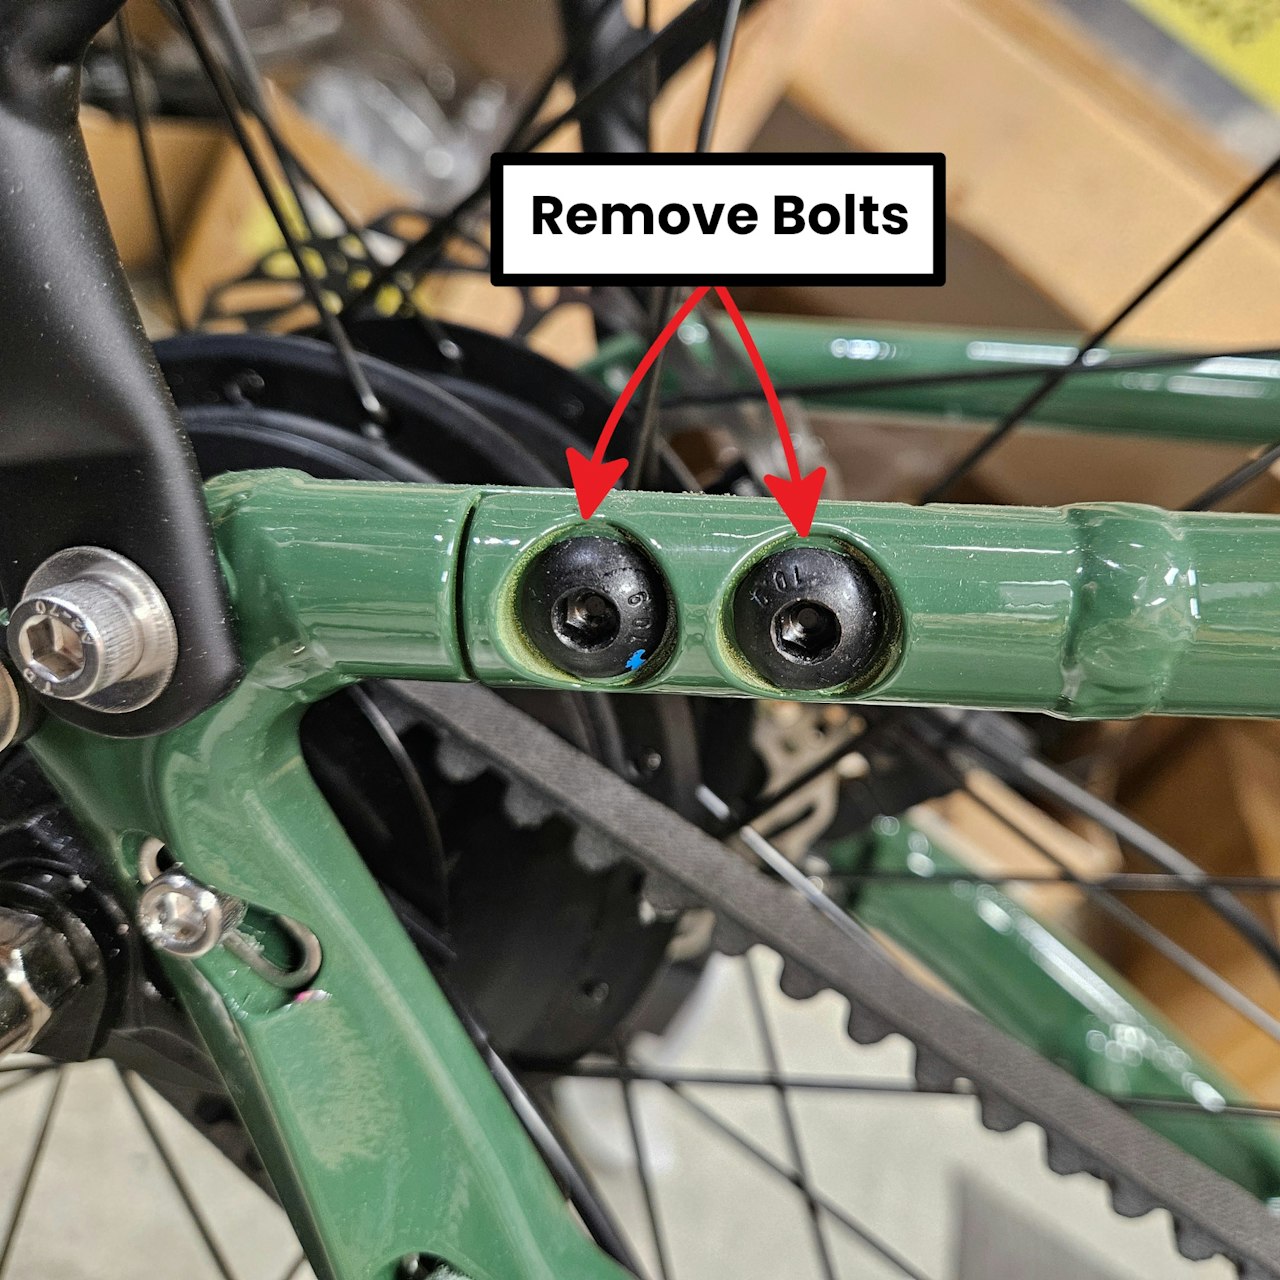
Loosen and remove the two bolts that hold the frame together on the rear drive side seat stay.
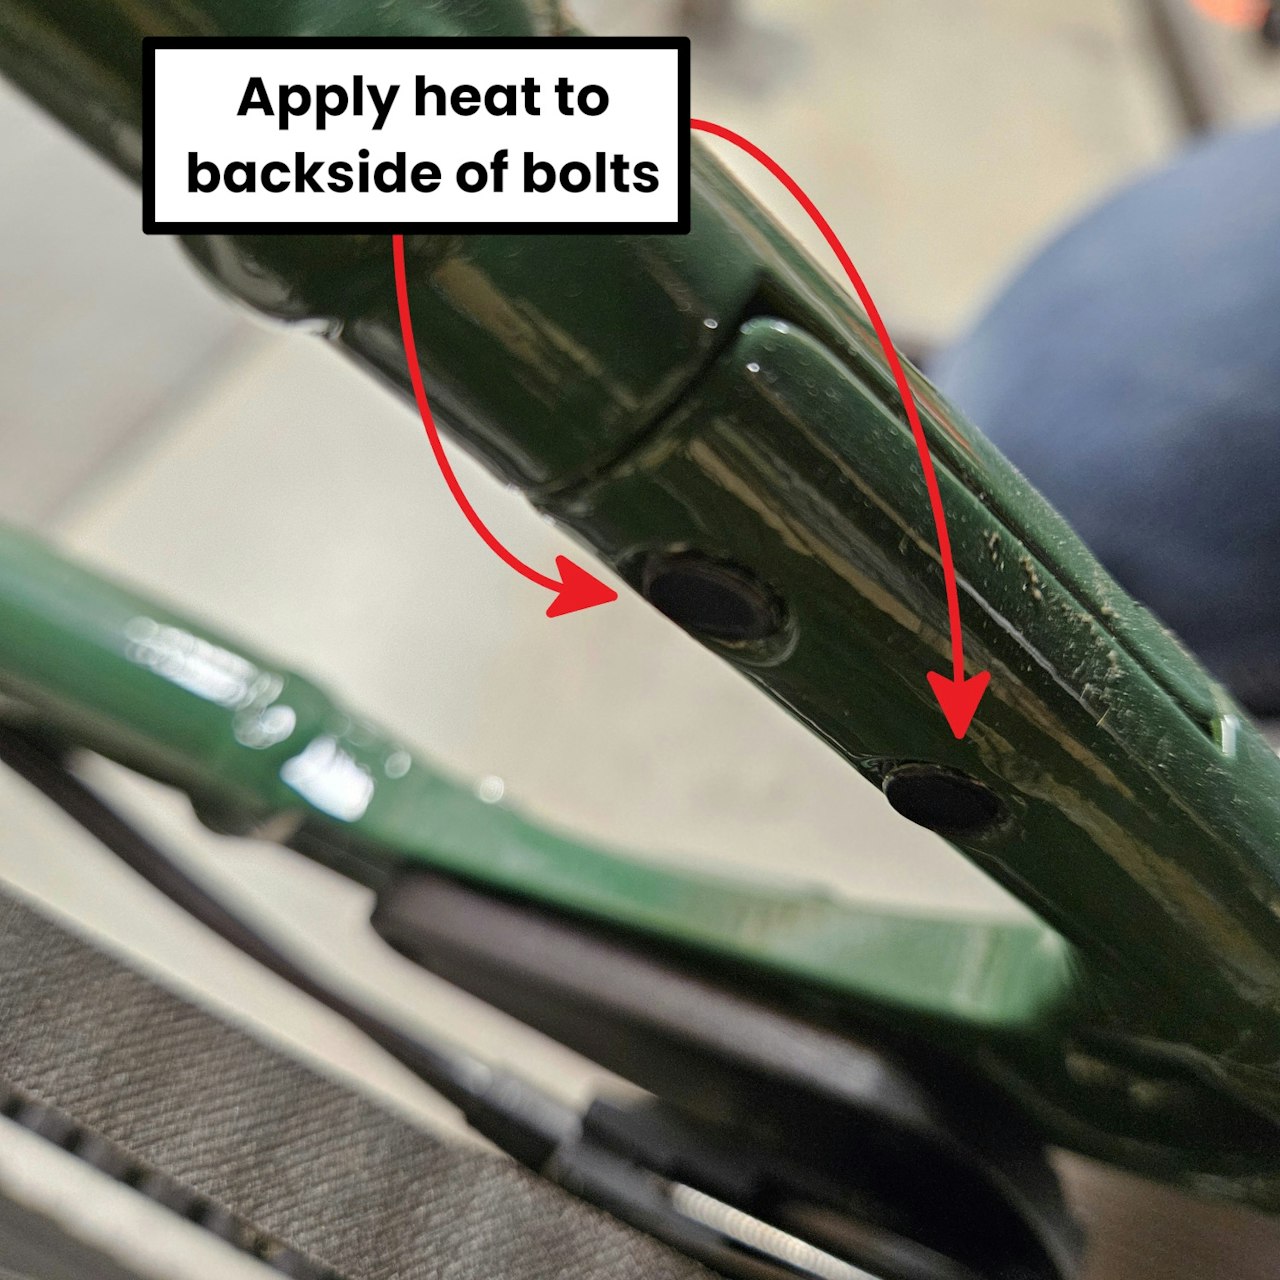
If the bolts provide a lot of initial resistance upon attempting removal STOP! You DO NOT want to strip these bolts! Attempt the following, then try for further removal:
Check that the tool head is not damaged and securely inserts into the bolt head
Use your heat gun or hair dryer and apply heat to the backside of each bolt for 1-2 minutes to aid in removal.
Try using a larger breaker bar to get more torque onto the bolt for removal.

Step 3
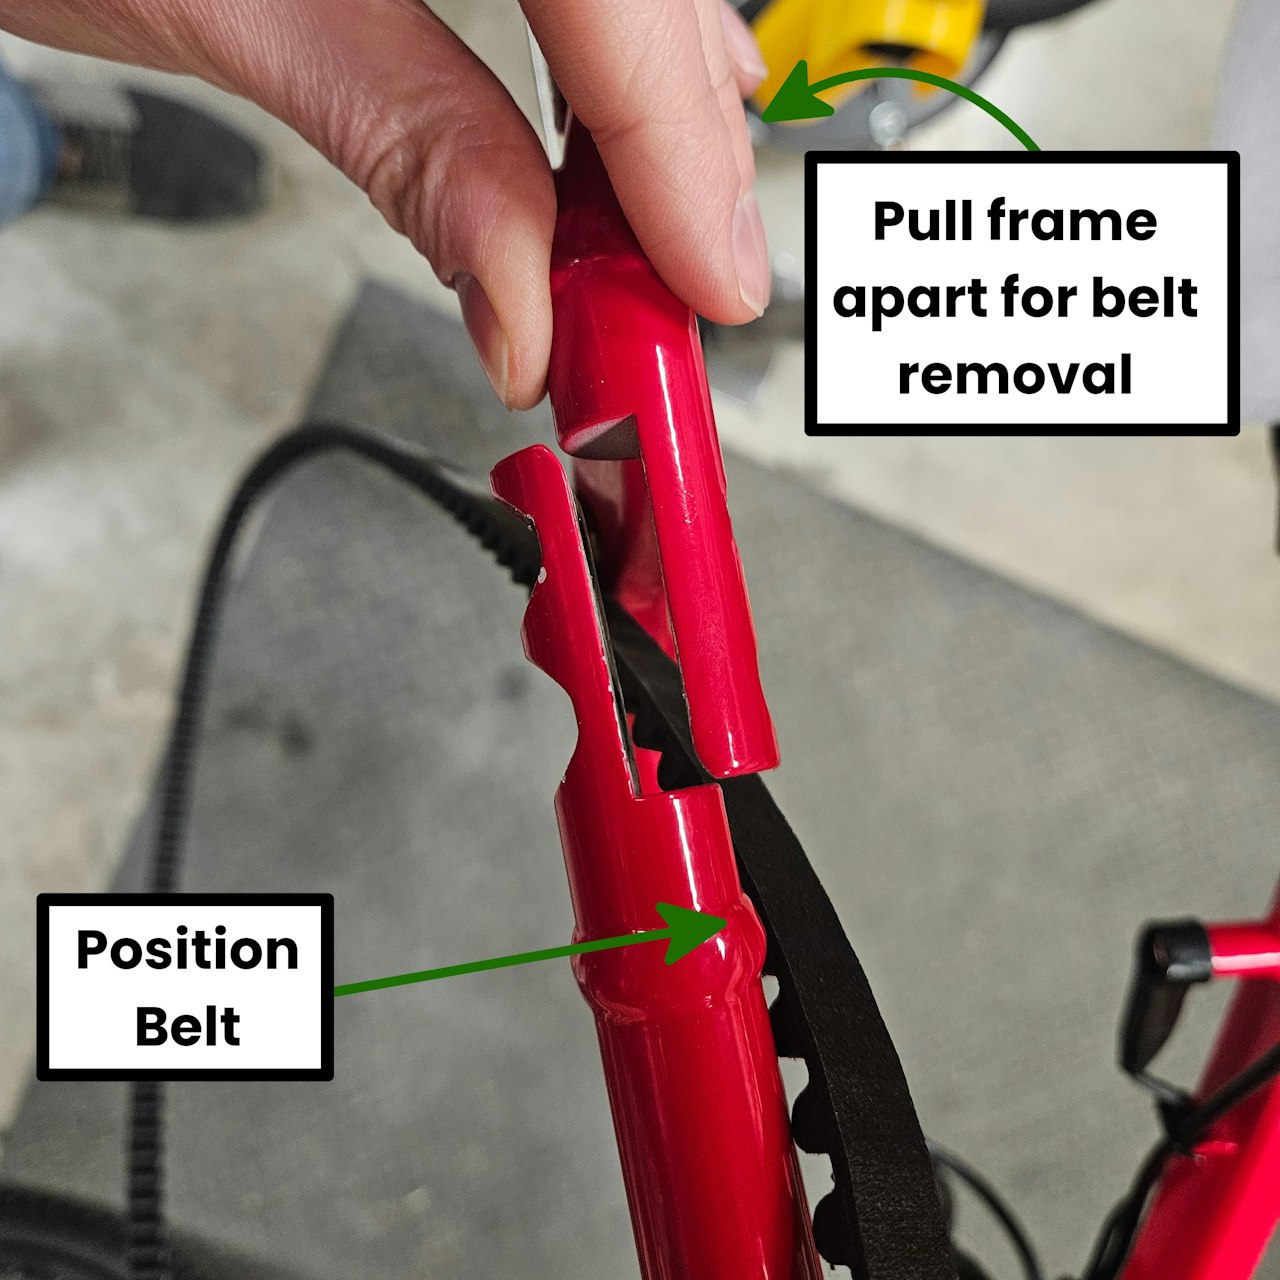
Move the belt such that it is positioned beside the break in the frame where you just removed the two bolts from
Pull the frame slightly apart at the break point. Then, pull the old belt through this gap to fully remove it from the bike
Step 4
Grab your new belt. Reinstall it into the frame by reversing the removal steps - pulling the frame apart at the break and reinstalling the belt!
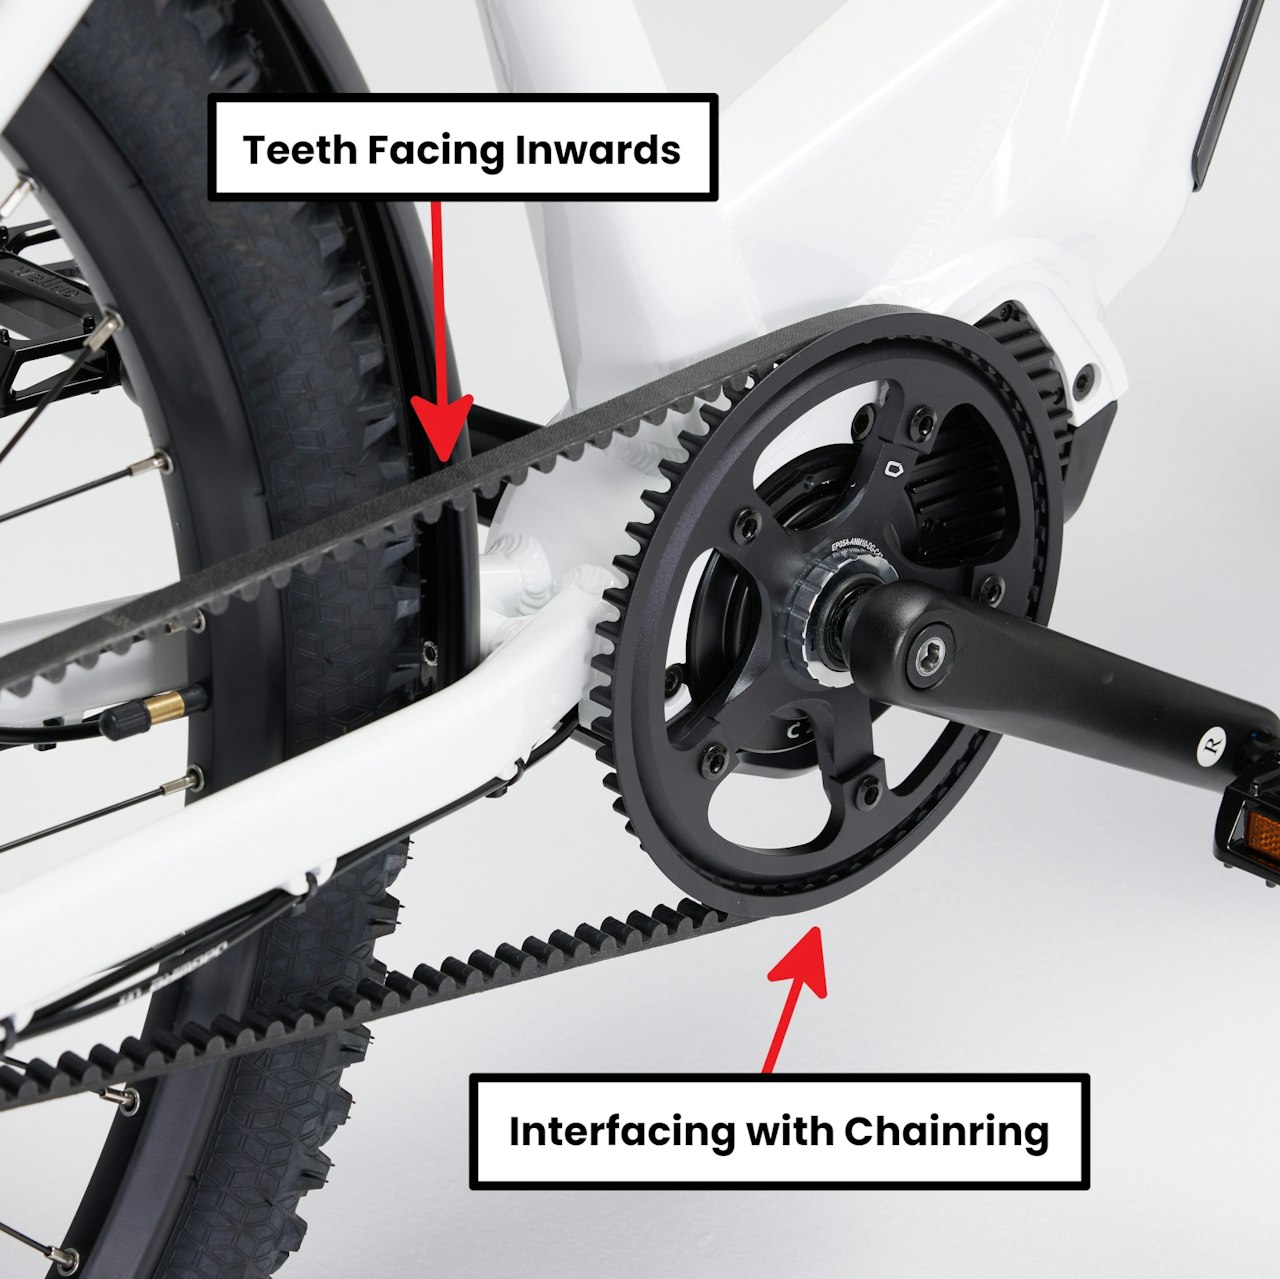
Check the belt's orientation. Ensure that the notches of the belt are pointing INWARD and it can interface with the bike's chainring.
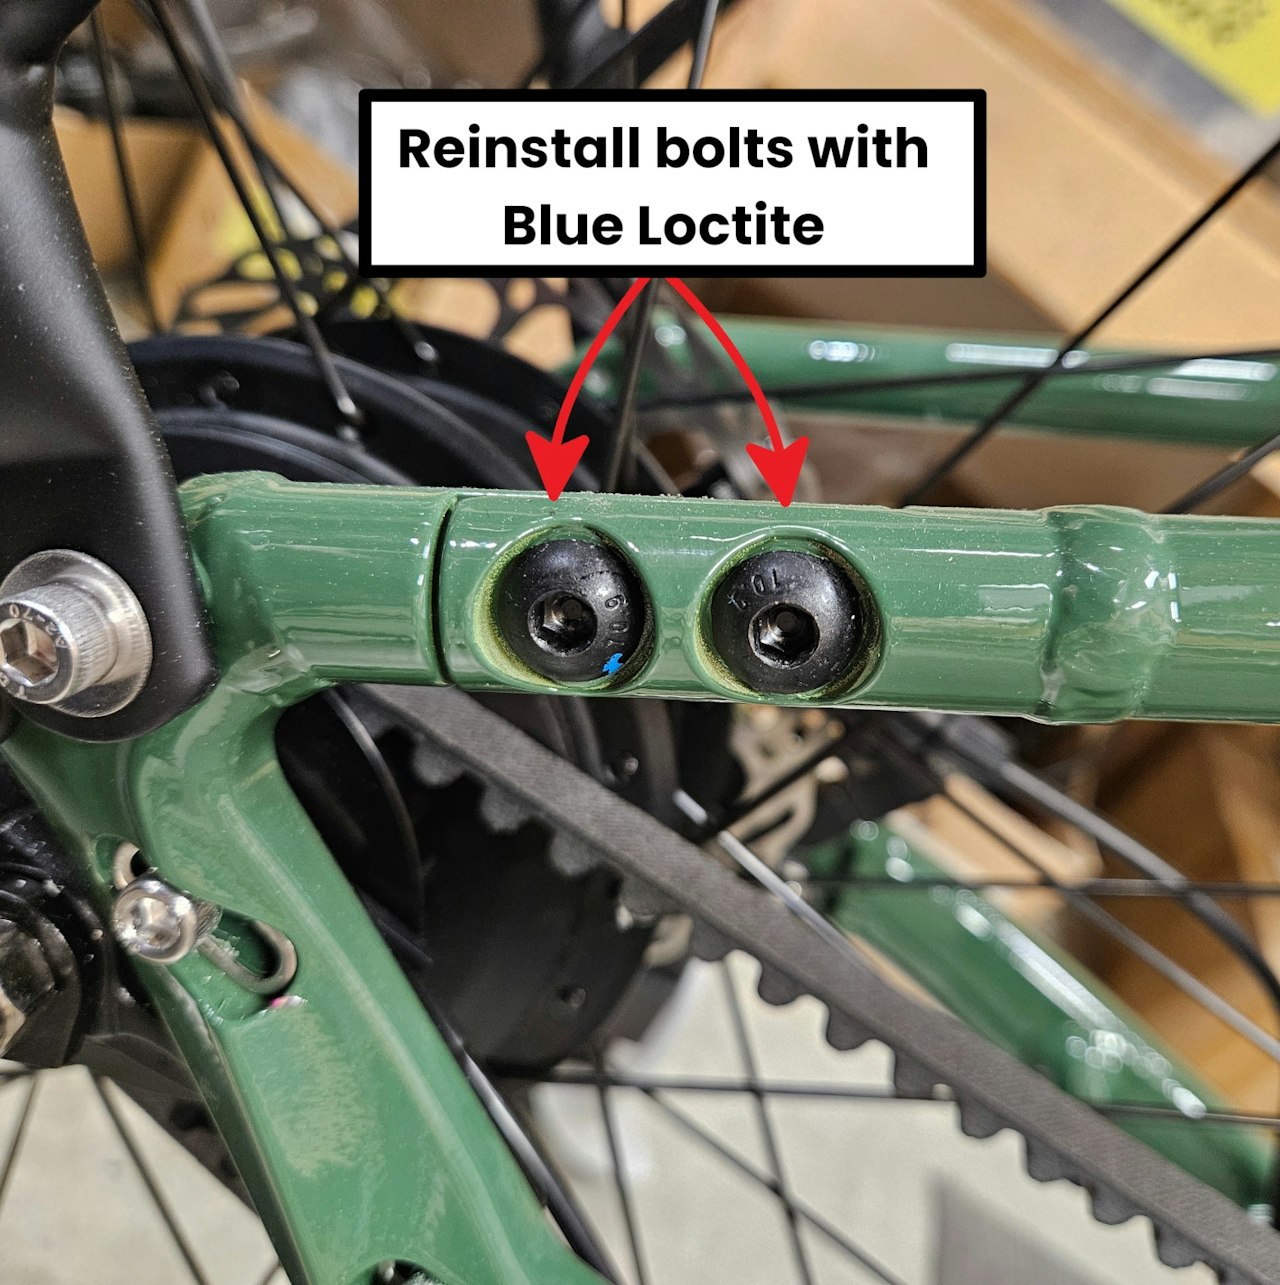
If the belt is properly orientated, reinstall the two bolts back to hold the frame together, ensuring you put some blue loctite onto them before installation.
Step 5
Reinstall your rear wheel, following the insturctions outlined in the attached video! Ensure you have the belt on the rear cog before you lift it into the frame!
Make sure anti-rotation washers are correctly orientated and axle bolts are tight upon re-installation!
*Video courtesy Riese & Müller via youtube.com

