
Introduction
You might have to replace the controller on your Juggernaut Lite Plus eBike in some cases when errors occur. Follow these instructions to replace this part!
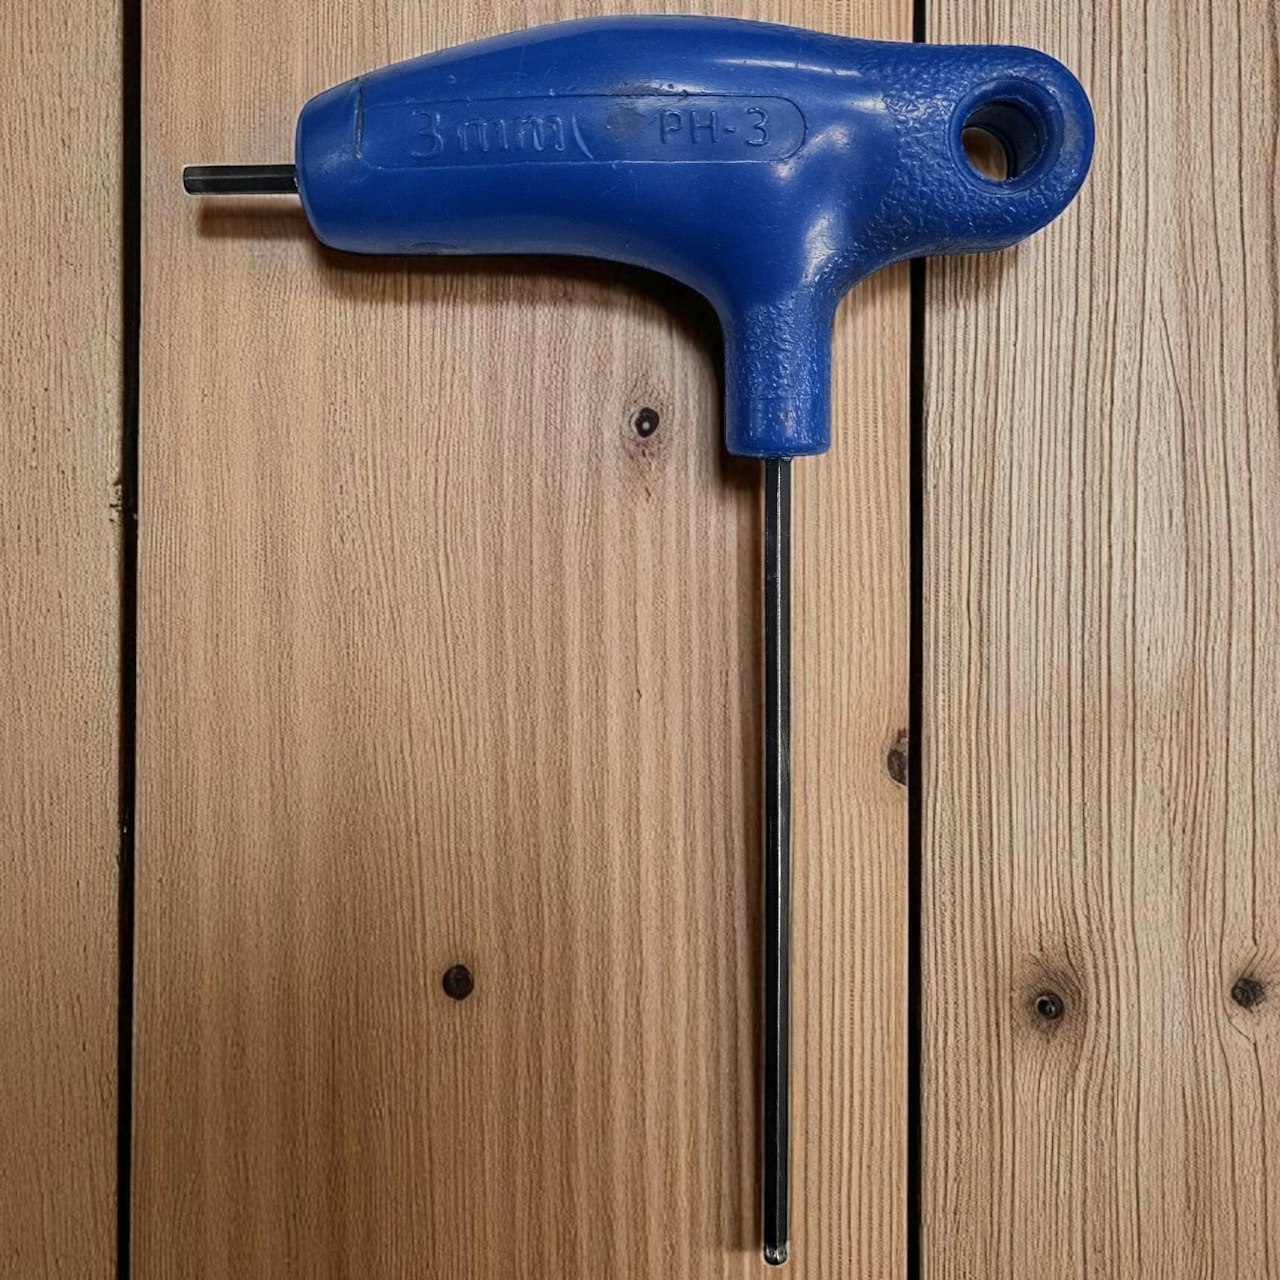
You will need the following tools:
3mm Allen Key

Step 1
Remove the battery from the bike and discharge electricity by holding the POWER button on the display
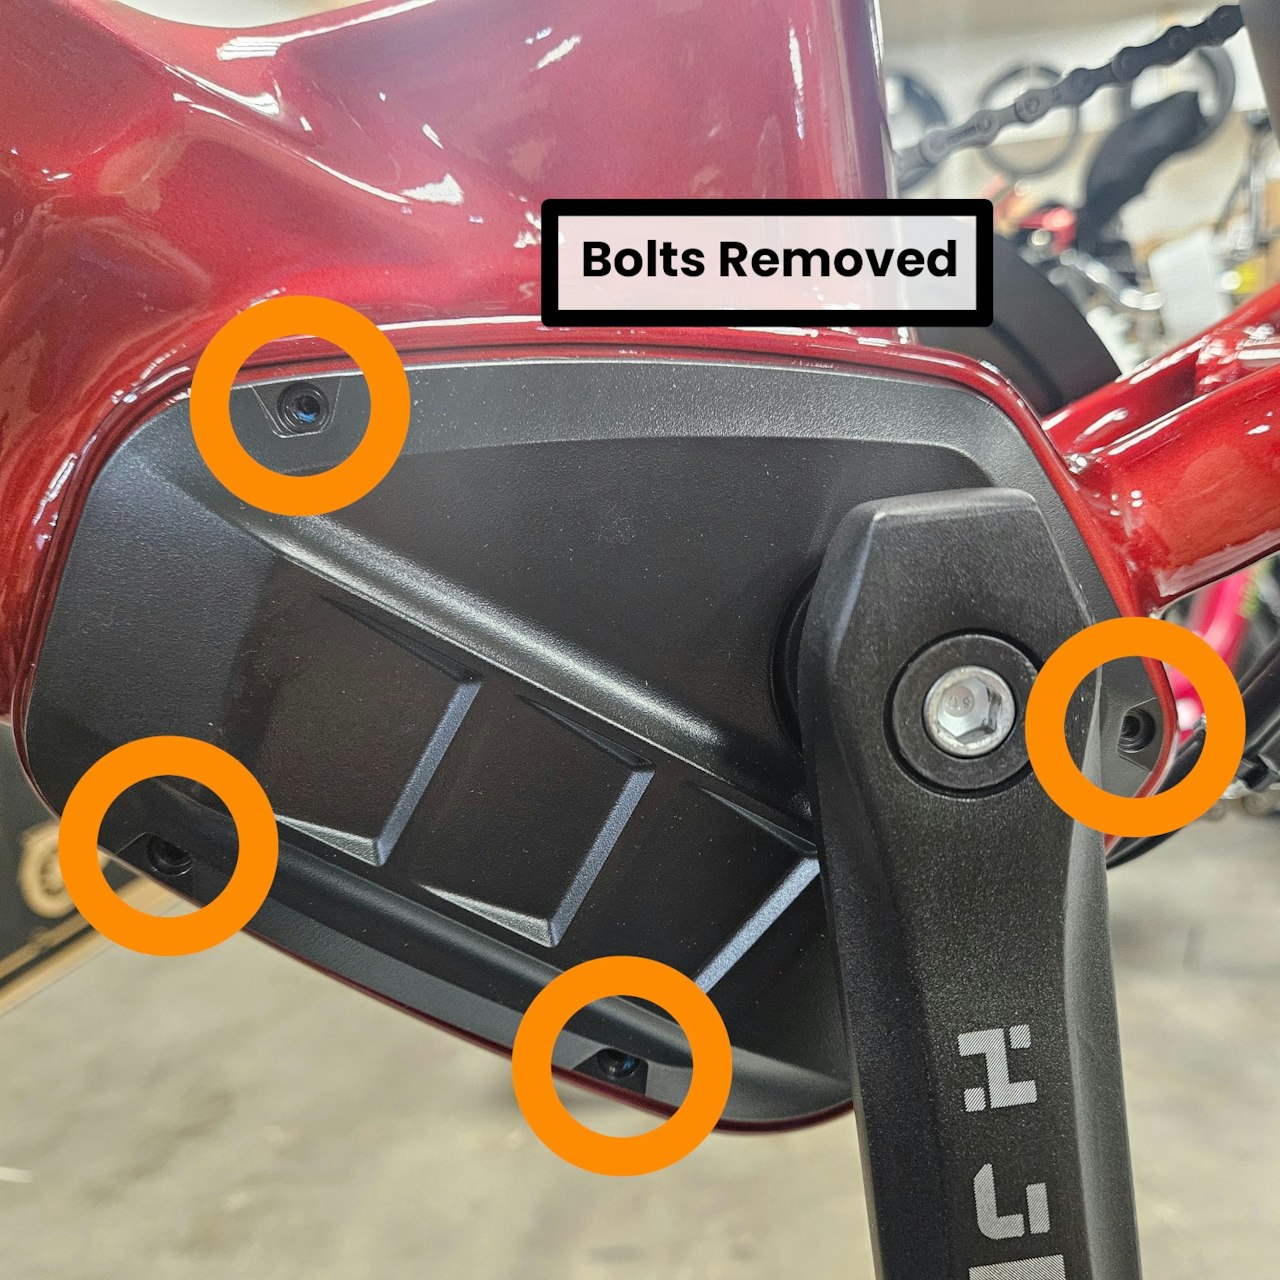
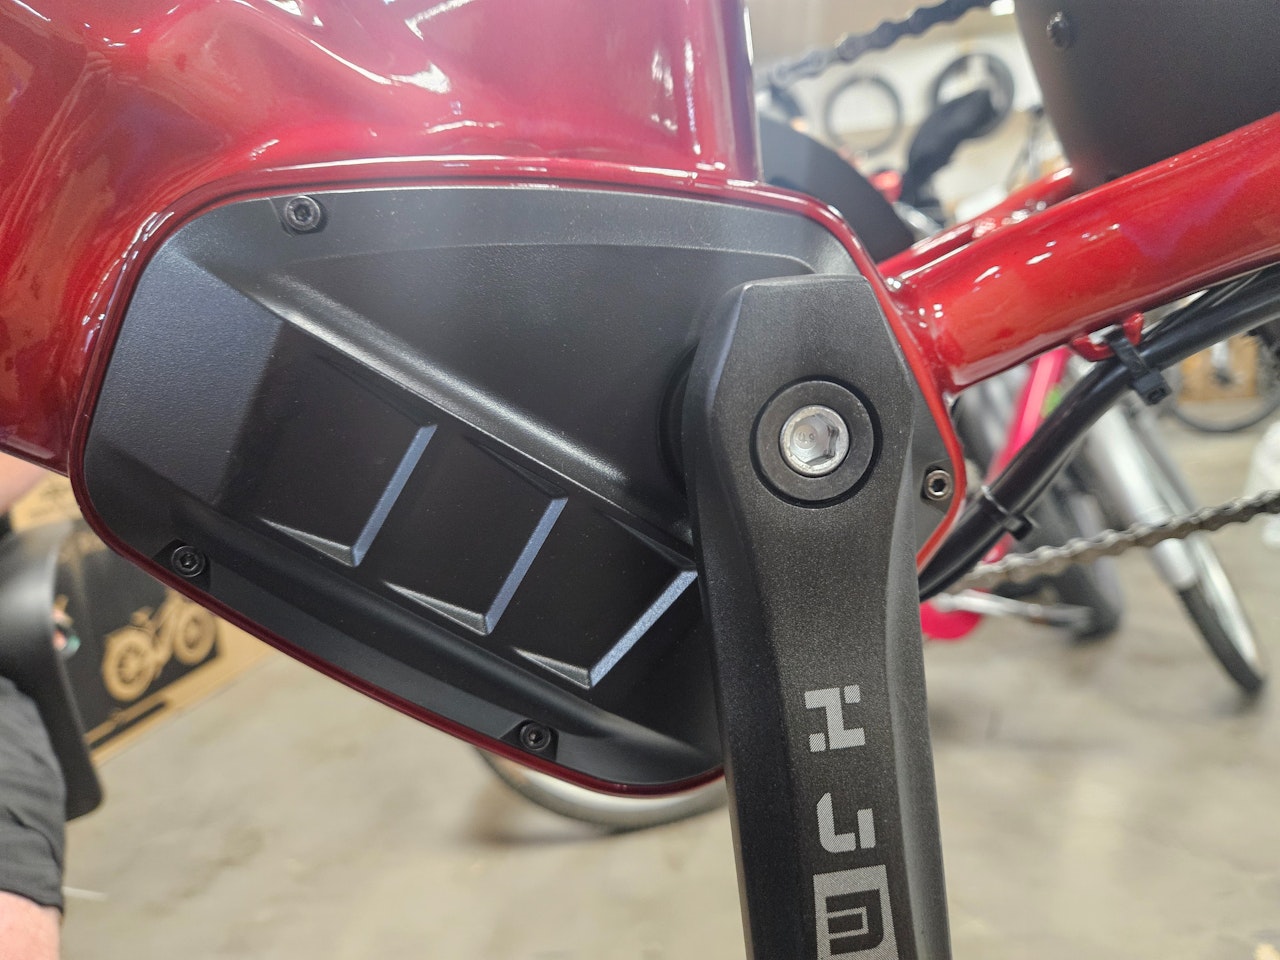
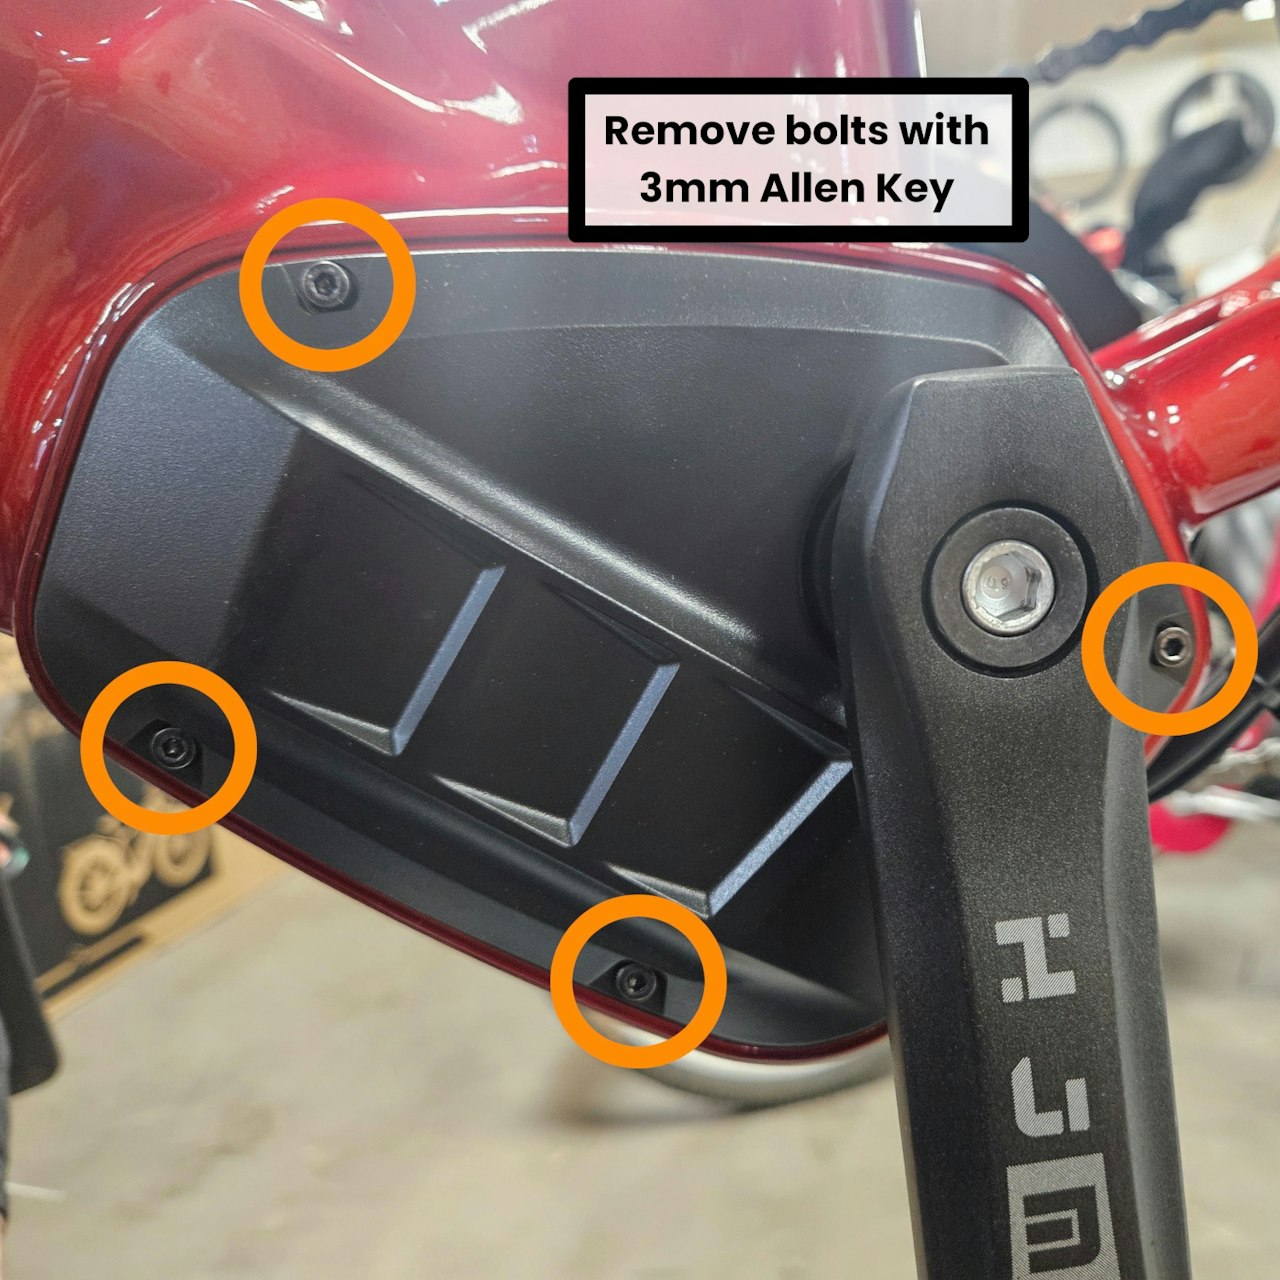
Remove the following circled bolts with your 3mm Allen Key
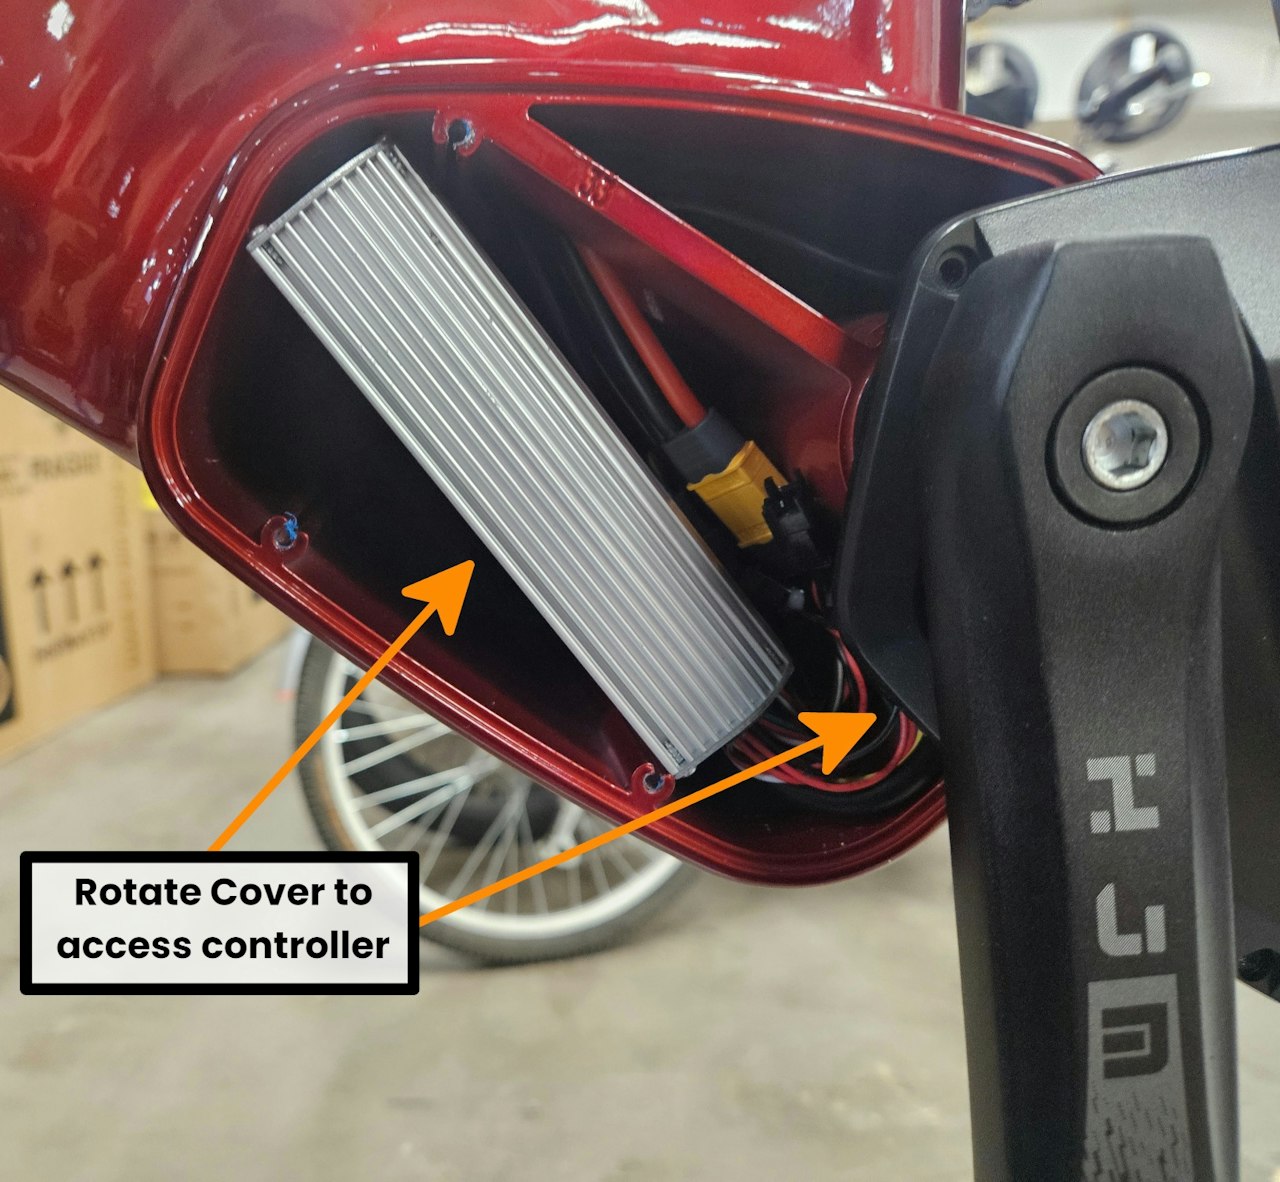
With all bolts removed, swivel the cover to the side to access the controller.

Step 2
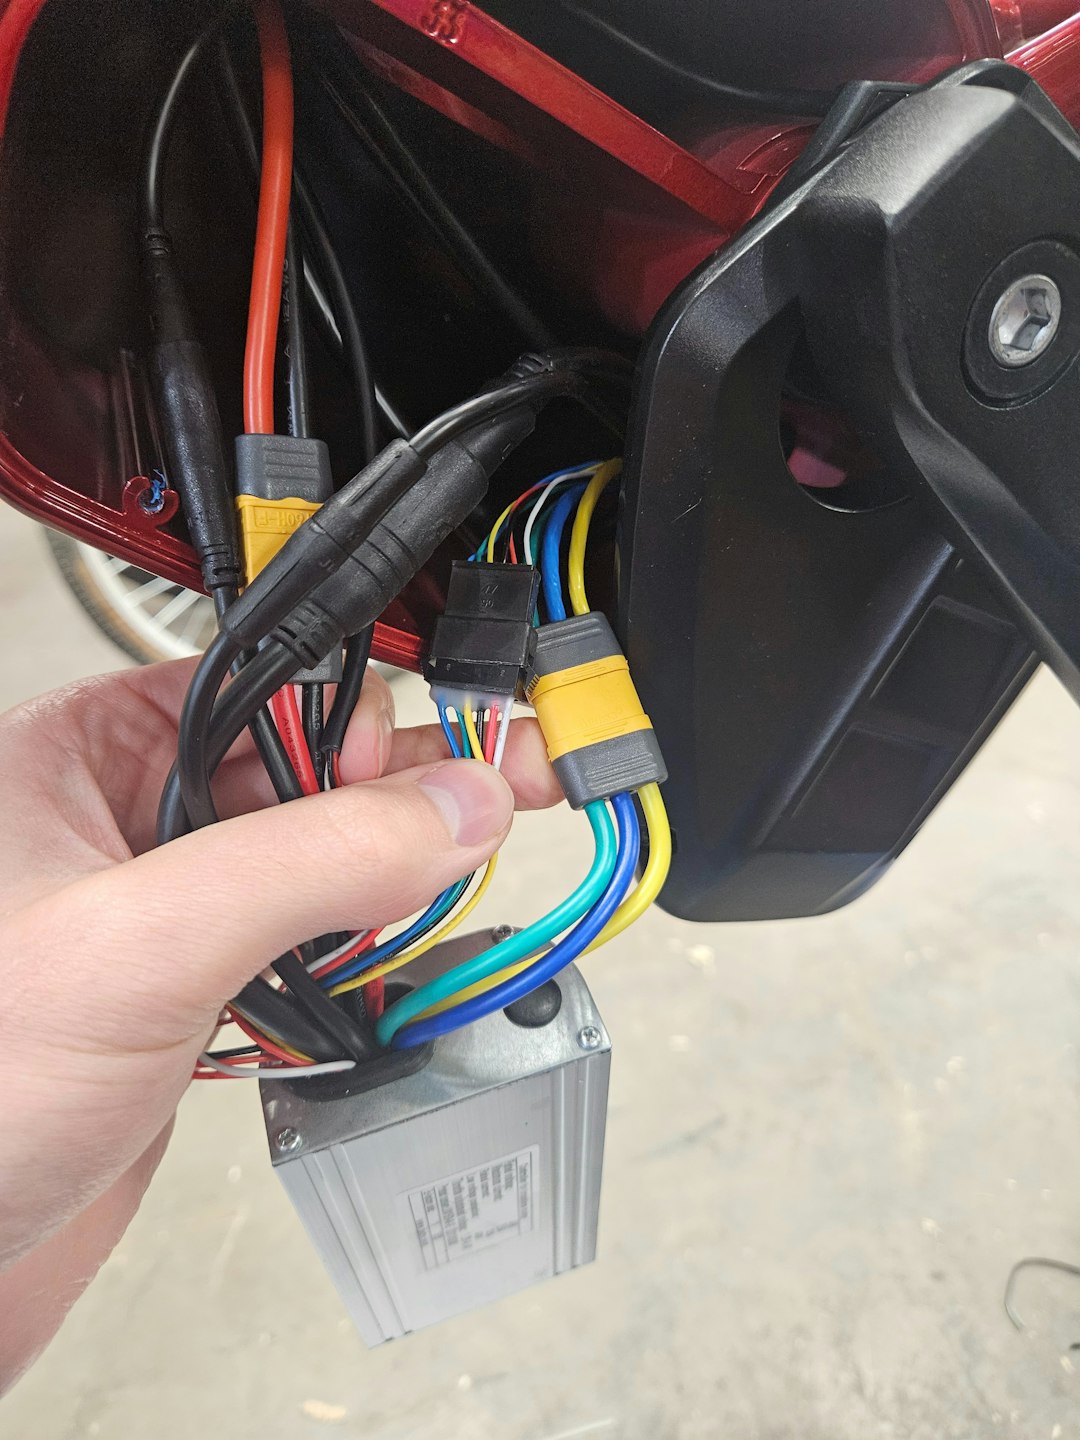
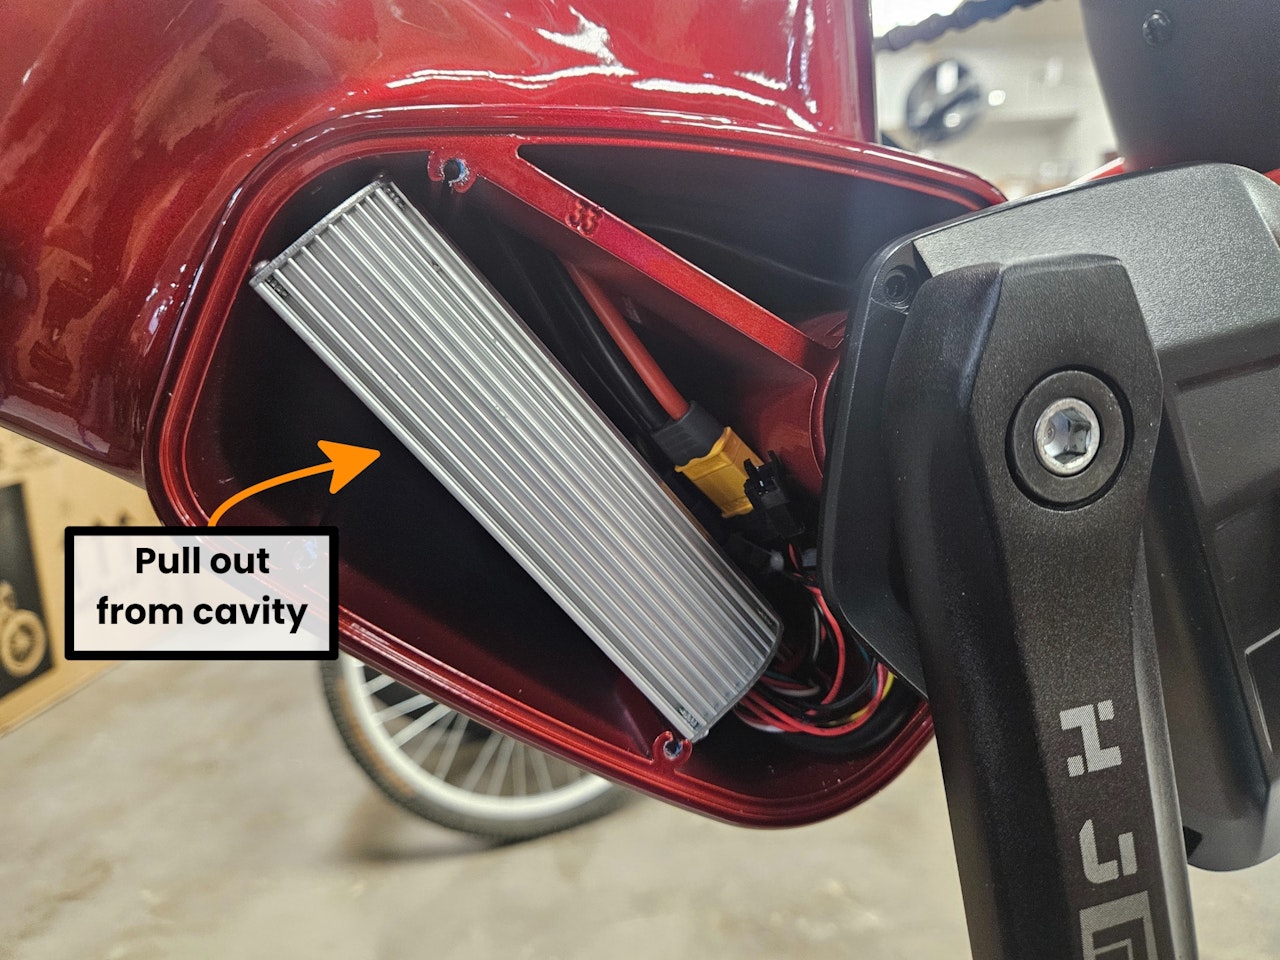
Slide the controller out from the frame - this should come out fairly easily!
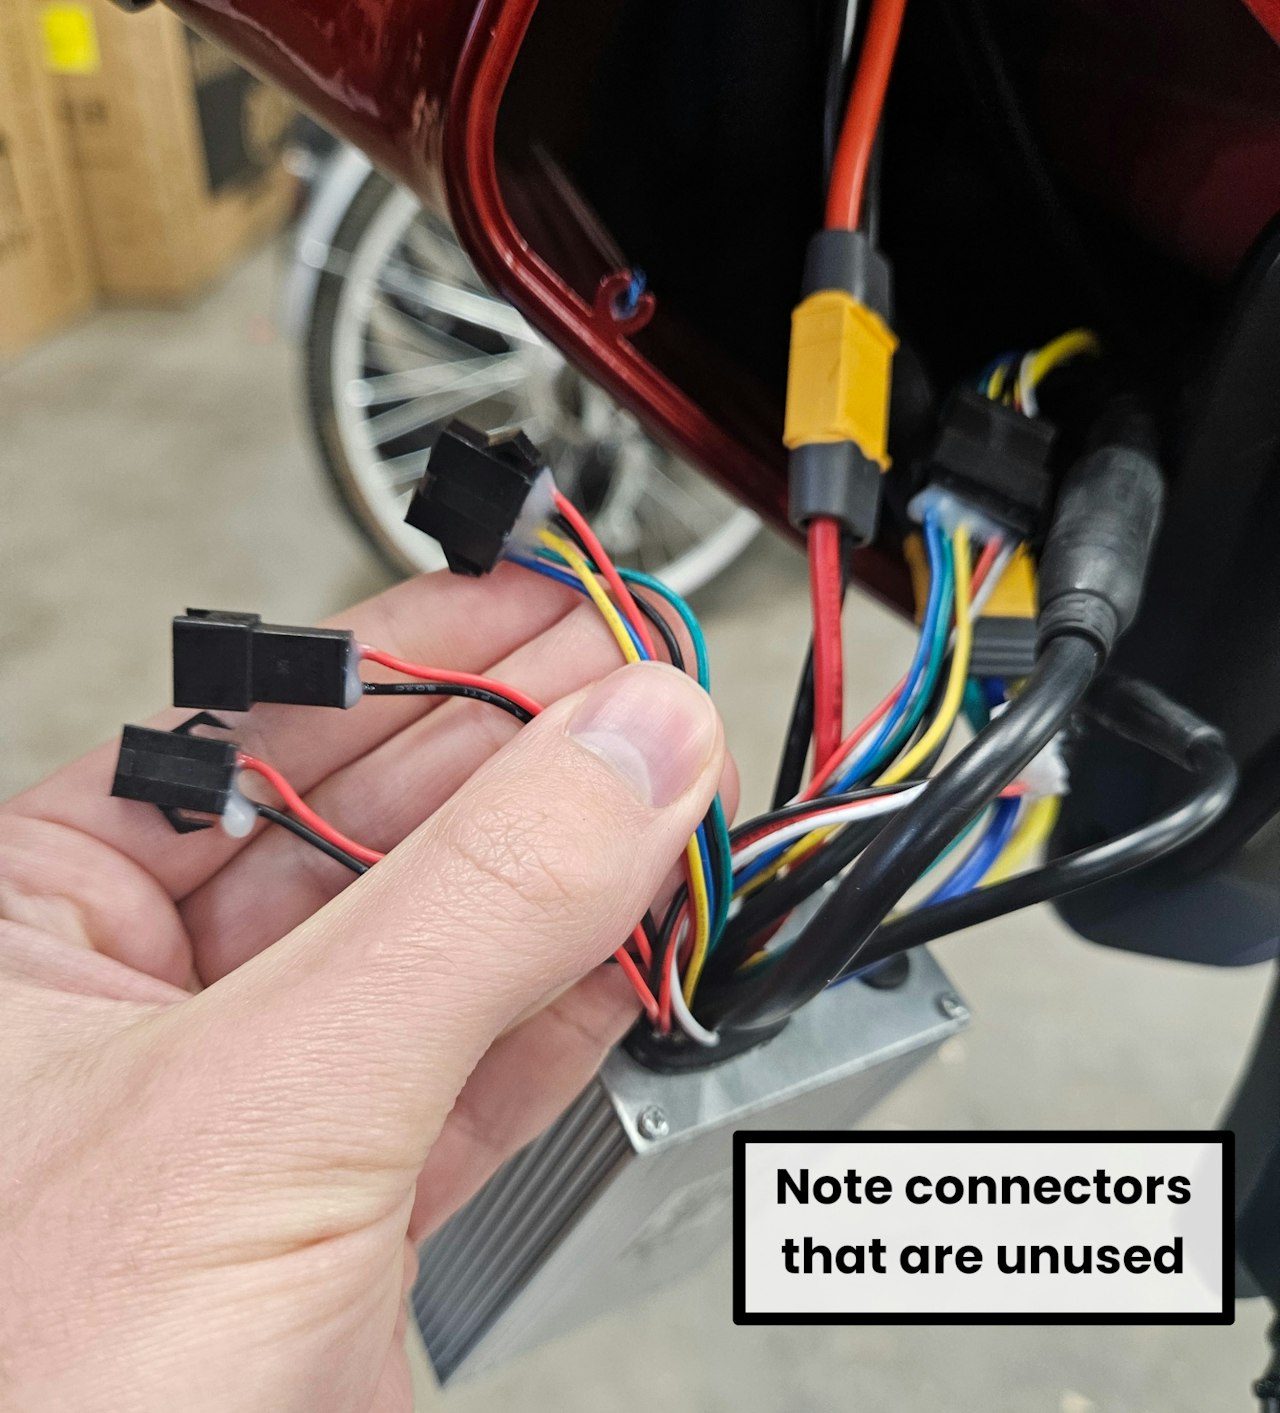
Take note of all the leads - there are 3 Unused connectors here.
One at a time unplug a connector from your faulty controller, andplug it into your good functioning controller.
Doing these one at a time ensures you will not miss anything!

Step 3
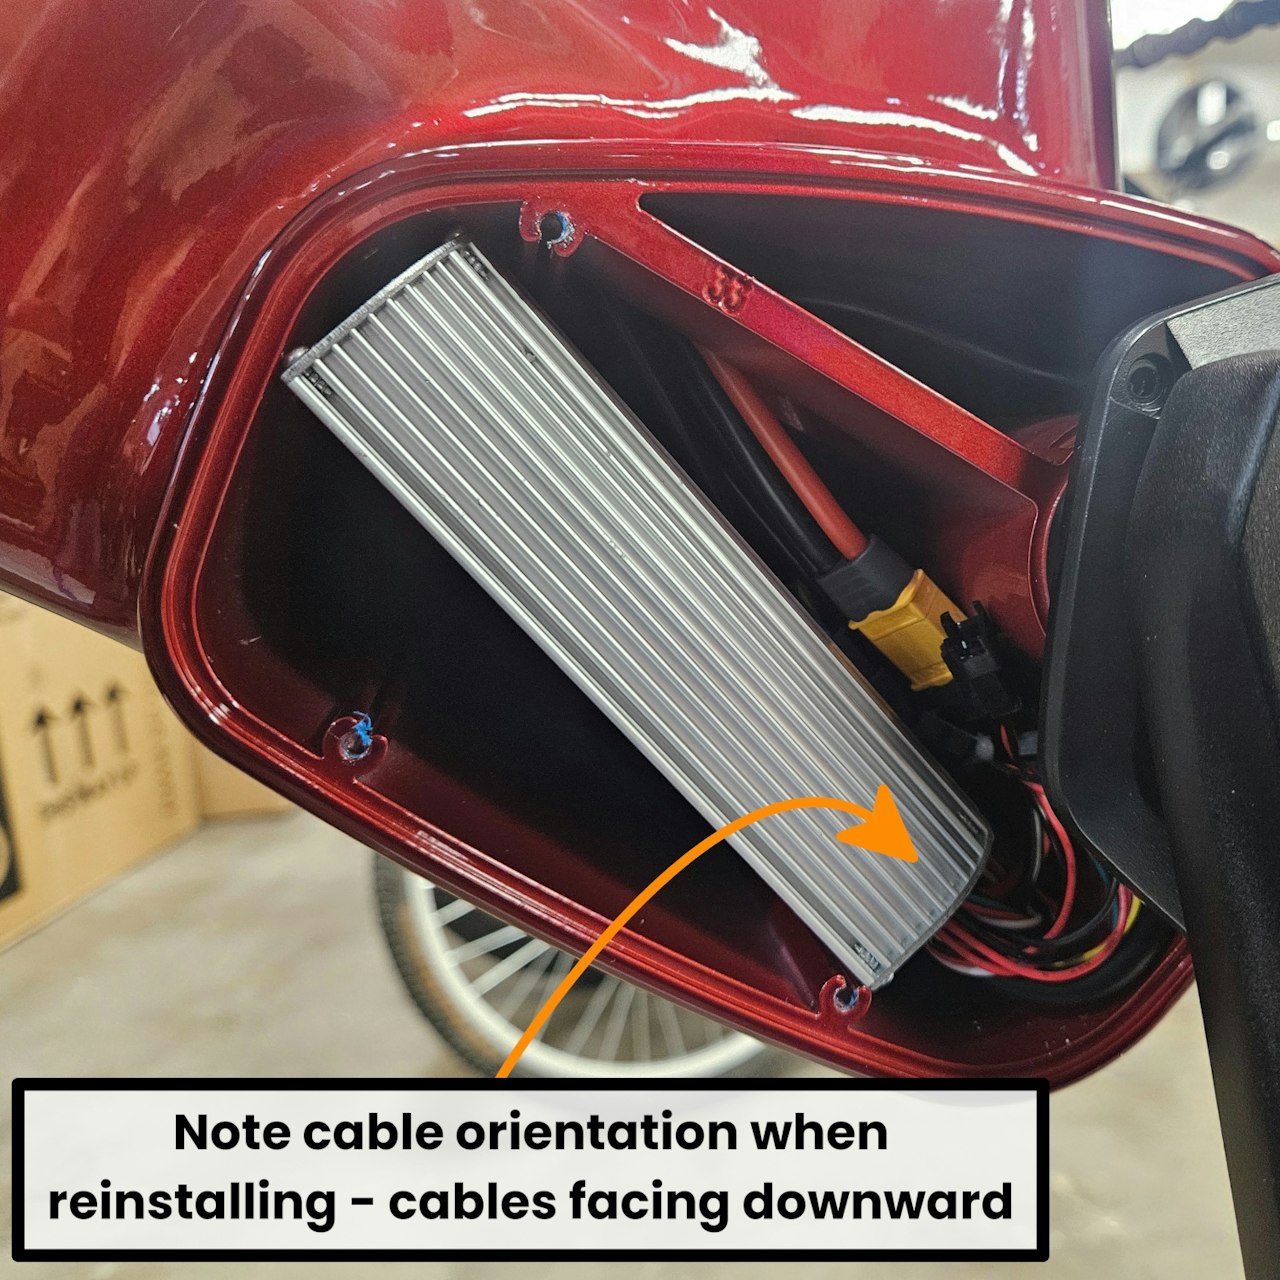
Your new controller is now hooked up! Slide it back into the controller cavity, oriented the same as before.
The cables on the controller will face the ground when reinstalling - reference the first attached image.
Rotate the cover back over the controller cavity. Then reinstall the bolts to secure it back onto the frame
Your new controller is now installed! Turn on your bike, test that everything functions and go out to ride!

