
Introduction
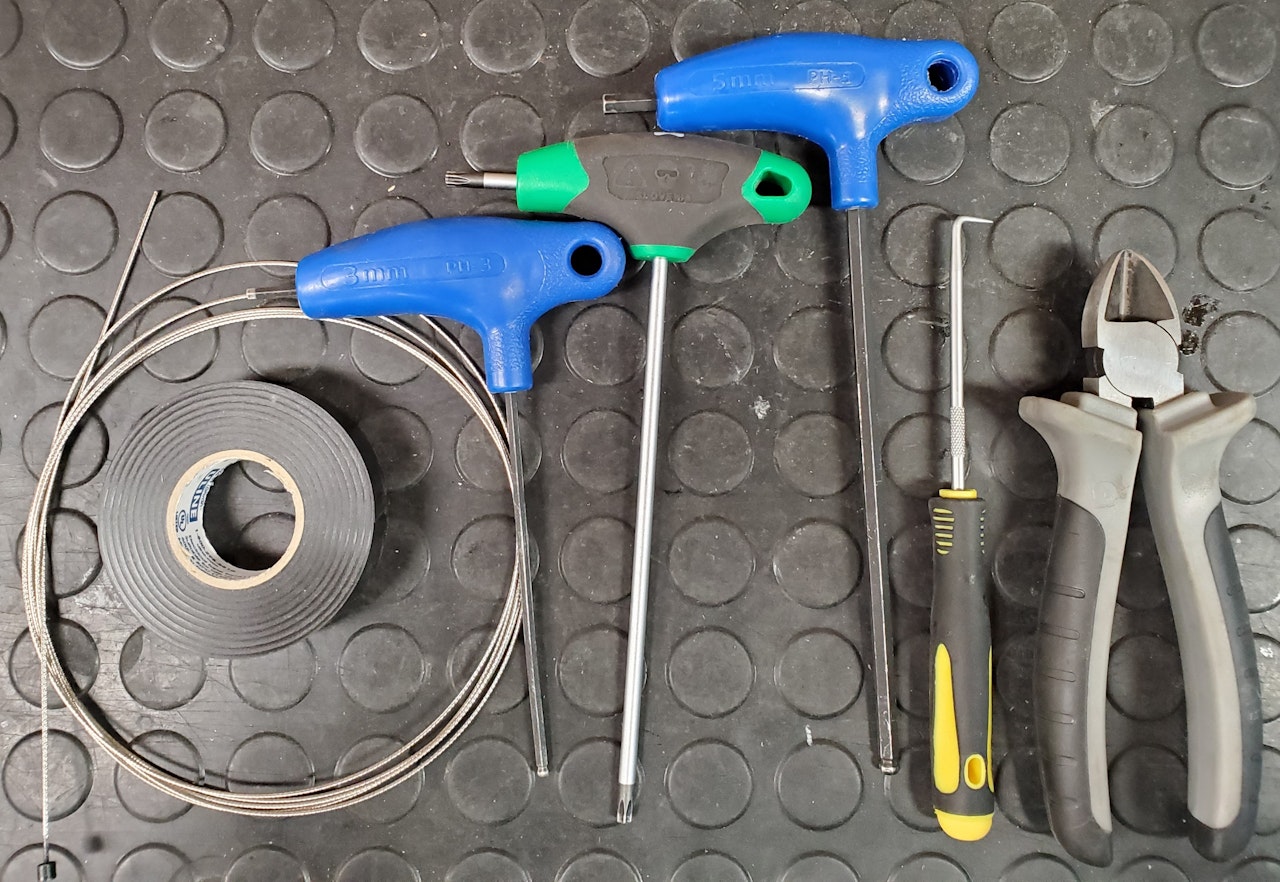
To replace the controller on your Biktrix Challenger you will need the following tool and supplies:
5mm Allen Key
3mm Allen Key (a short/small one works best)
T25 Screwdriver/T-Wrench
Snips
Poker
Zip ties
A Guide Cable - approximately 3'/910mm in length
We recommend you use Bike Brake Cable, Bike shifter Cable Twine or a thick guitar string for this!
Electrical Tape

Step 1
Remove the 4 circled bolts on the underside of the seat with a 5mm Allen Key.
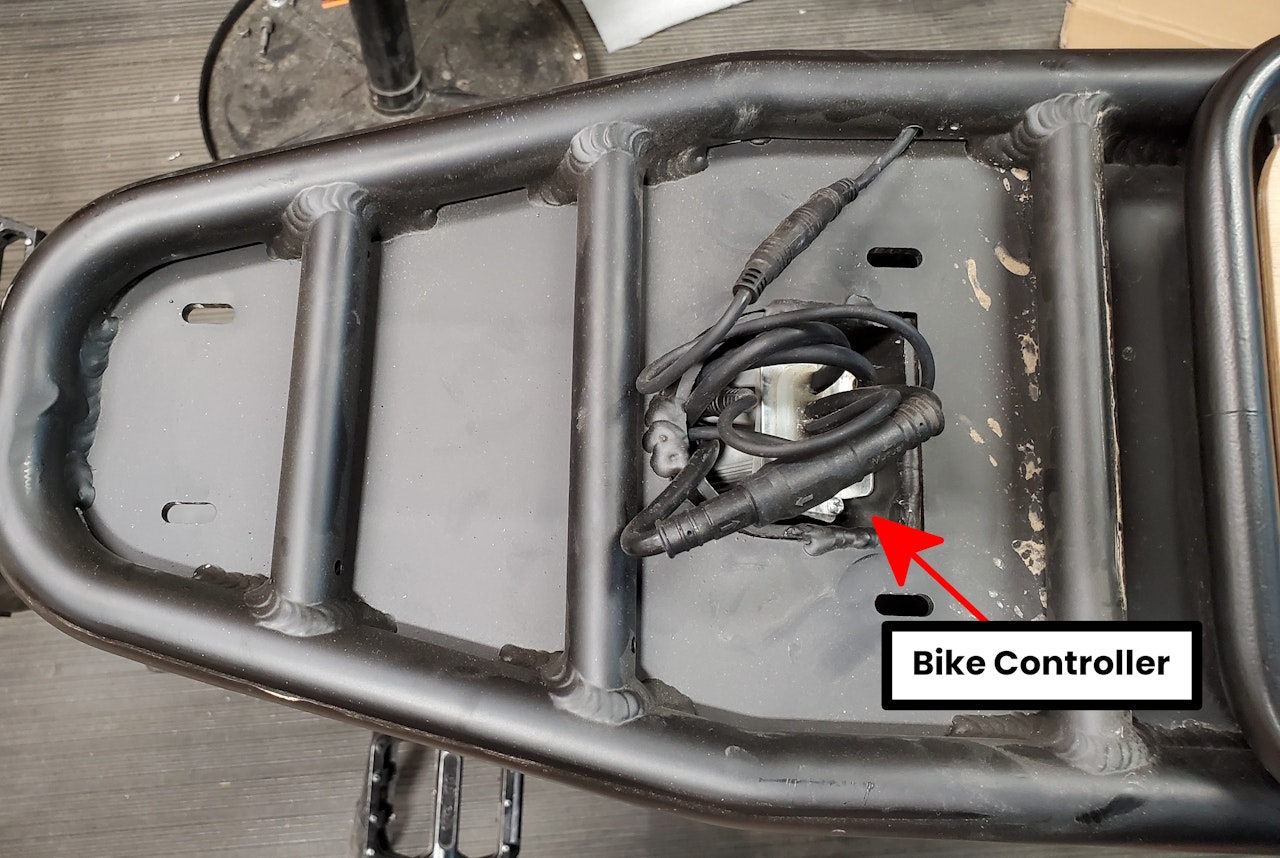
Lift up and remove the seat. You can then see and access the controller.

Step 2
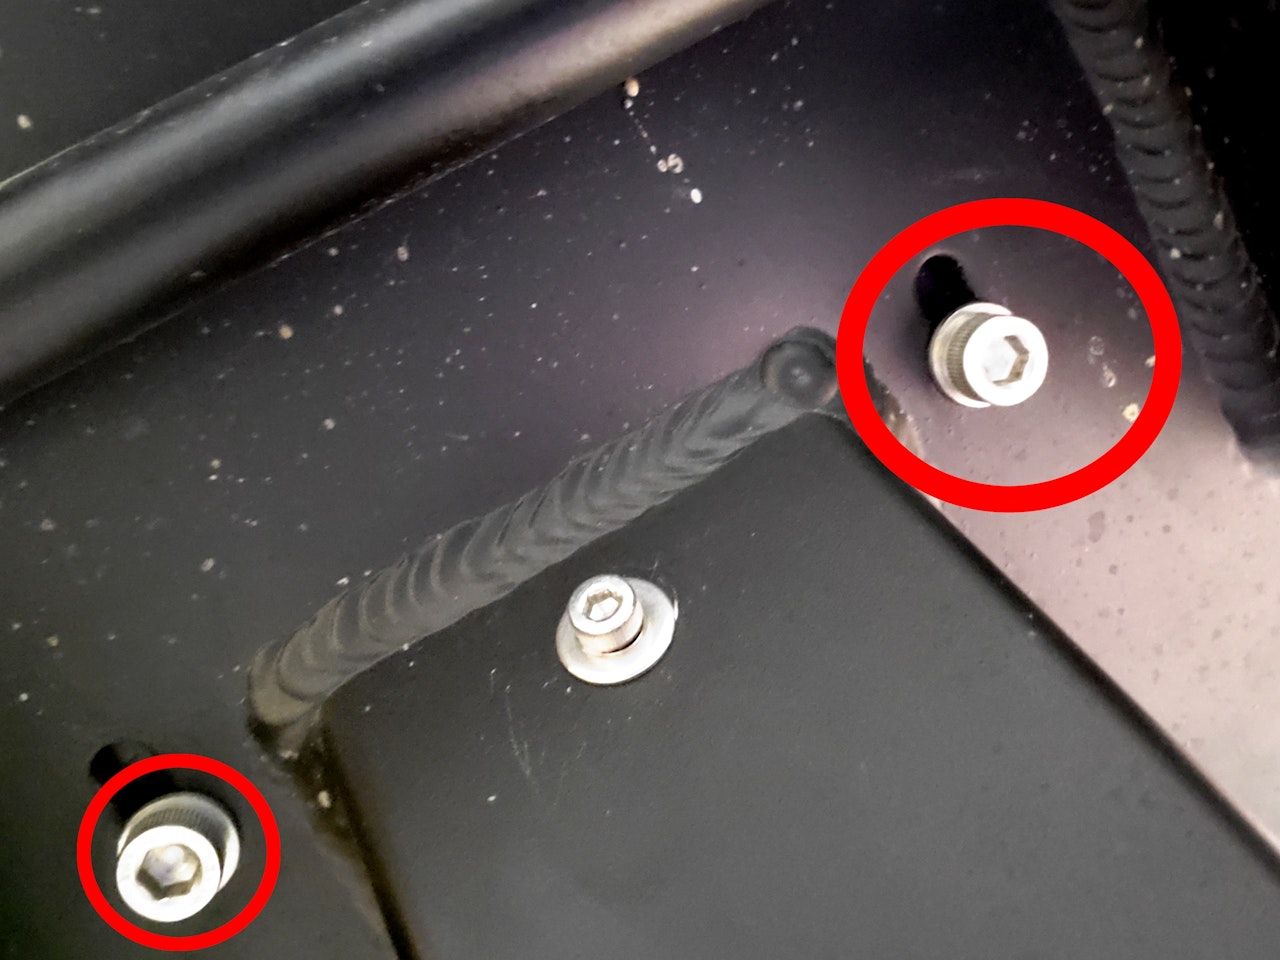
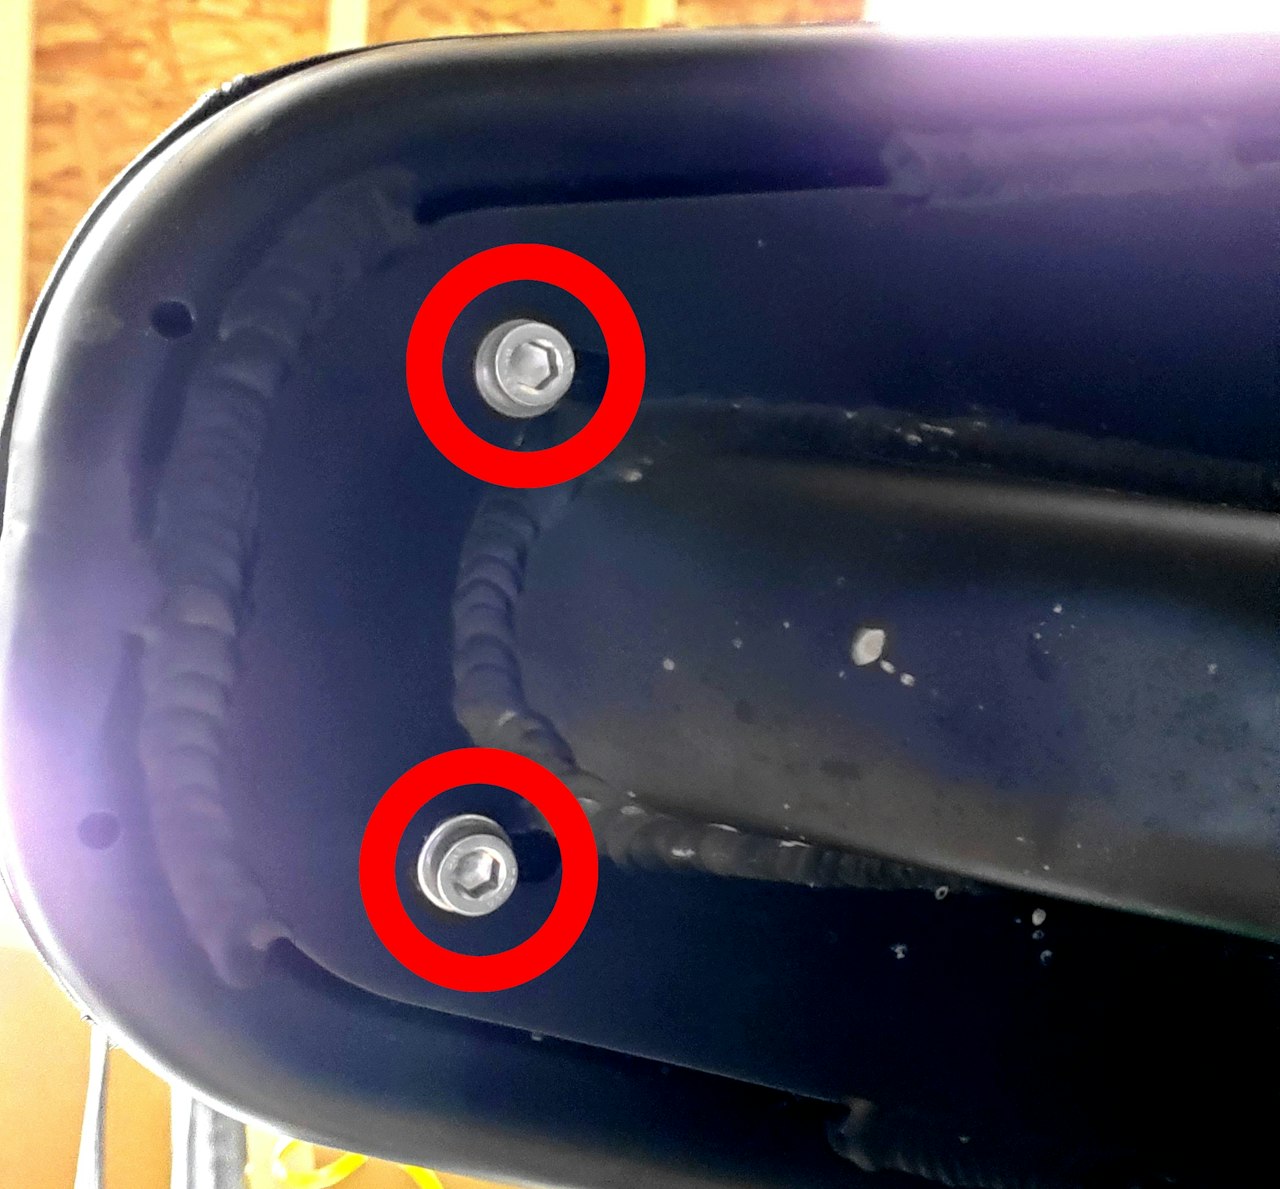
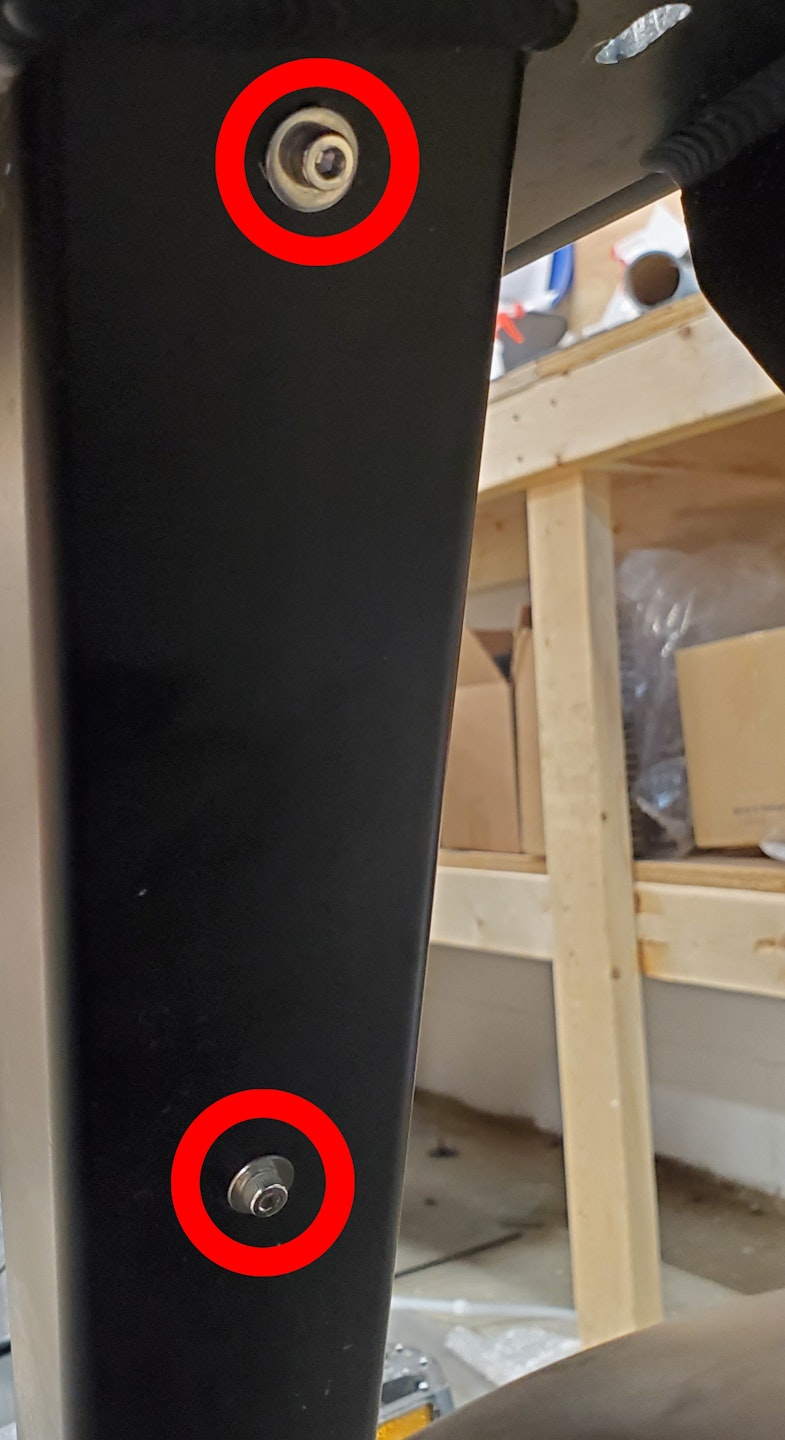
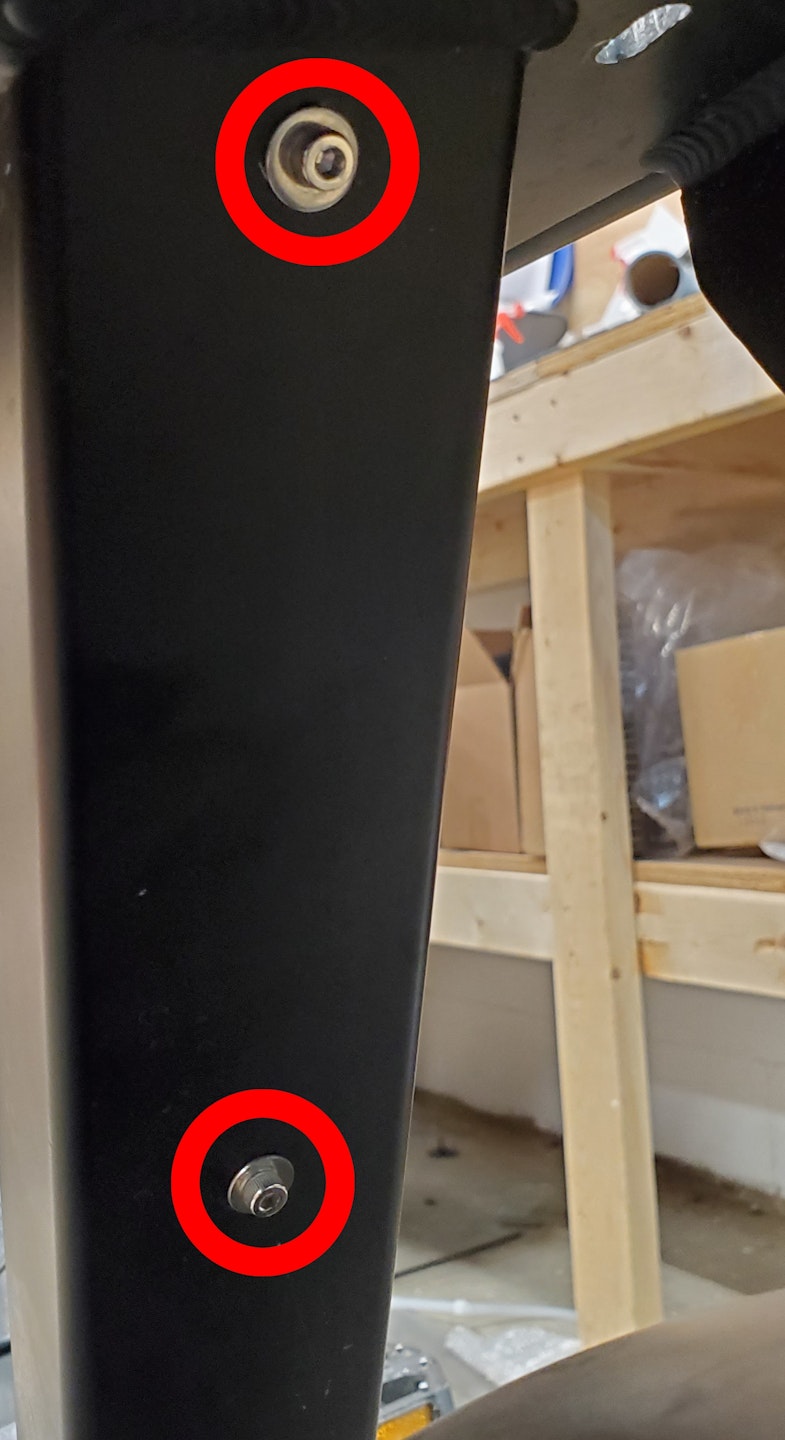
Remove the two circled bolts on the rear of the bike's "Seat Tube" with a 3mm Allen Key to loosen the controller for removal.
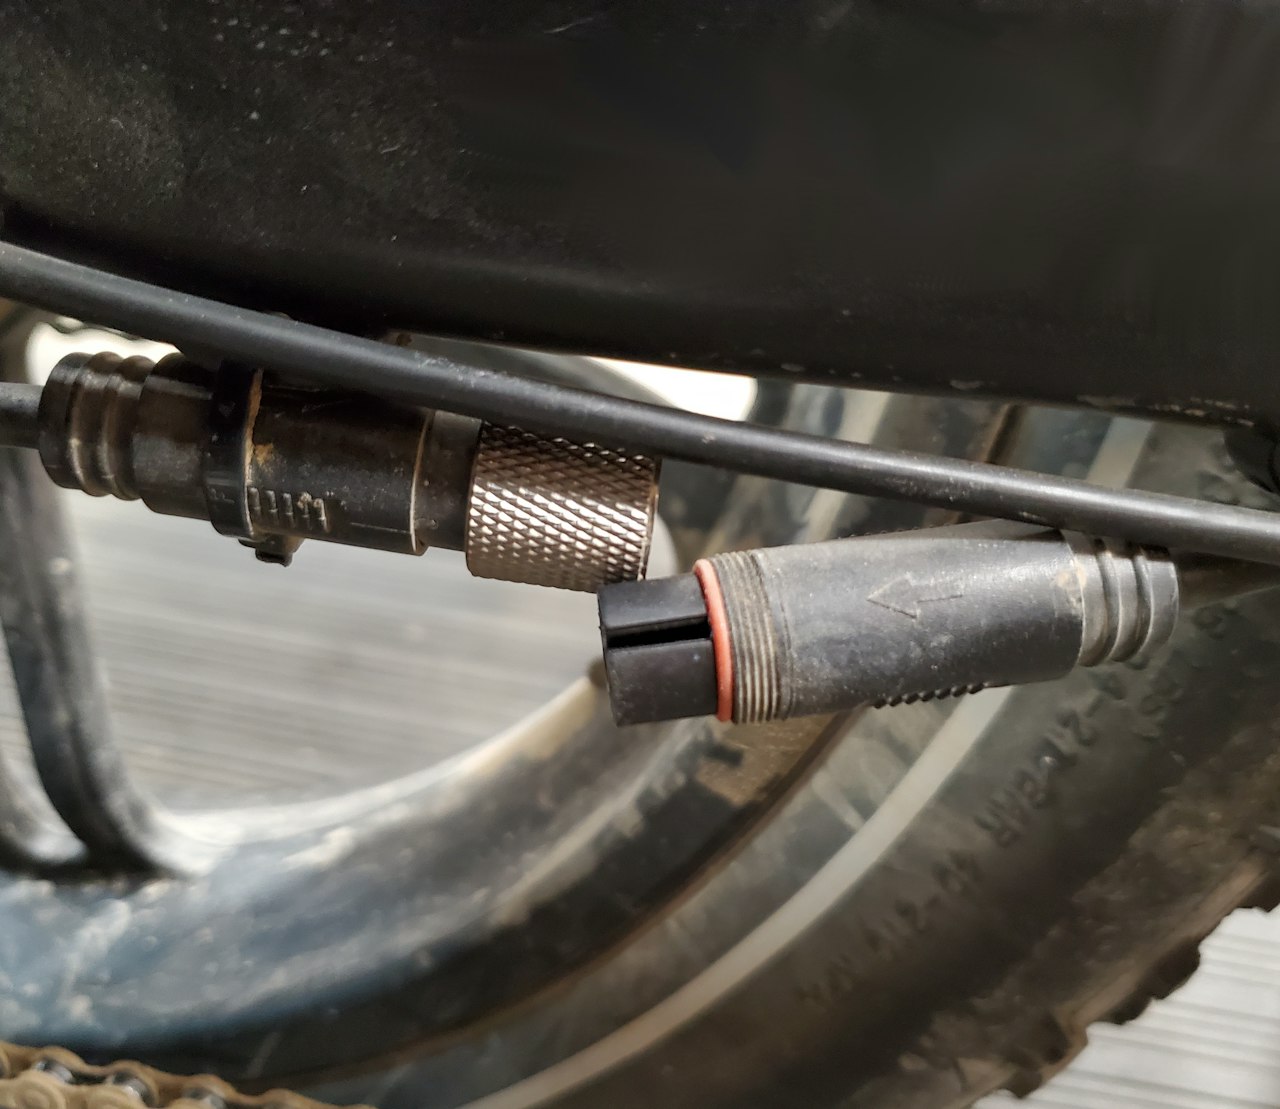
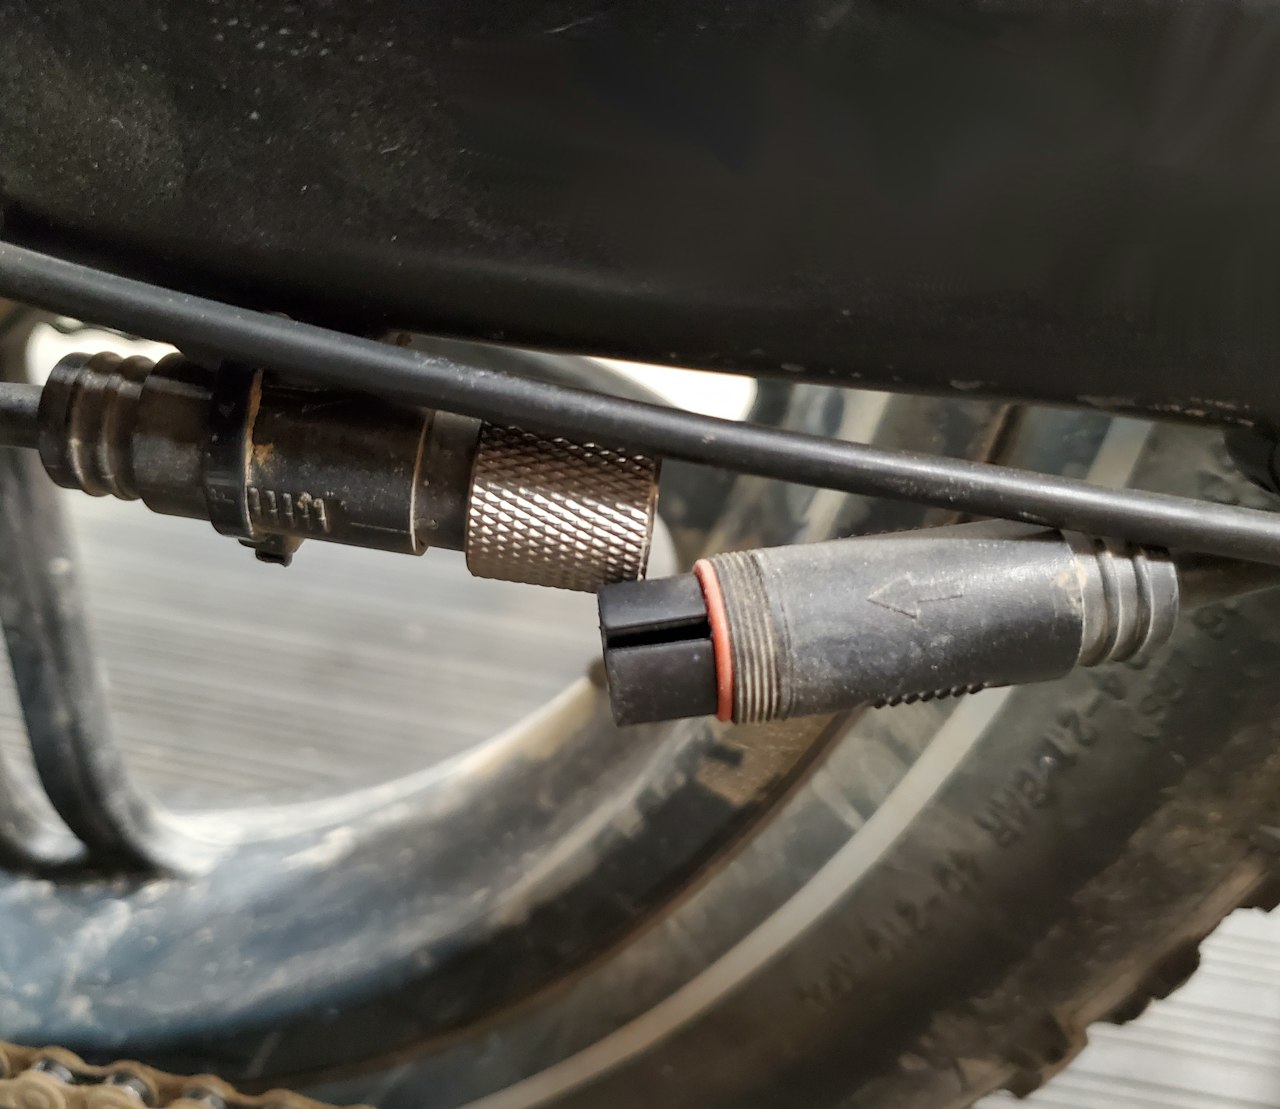
Locate the Motor Power Plug on the drive side chainstay and snip any zip ties attaching the wire onto the bike frame. Then unthread the metal sleeve and unplug the connector.
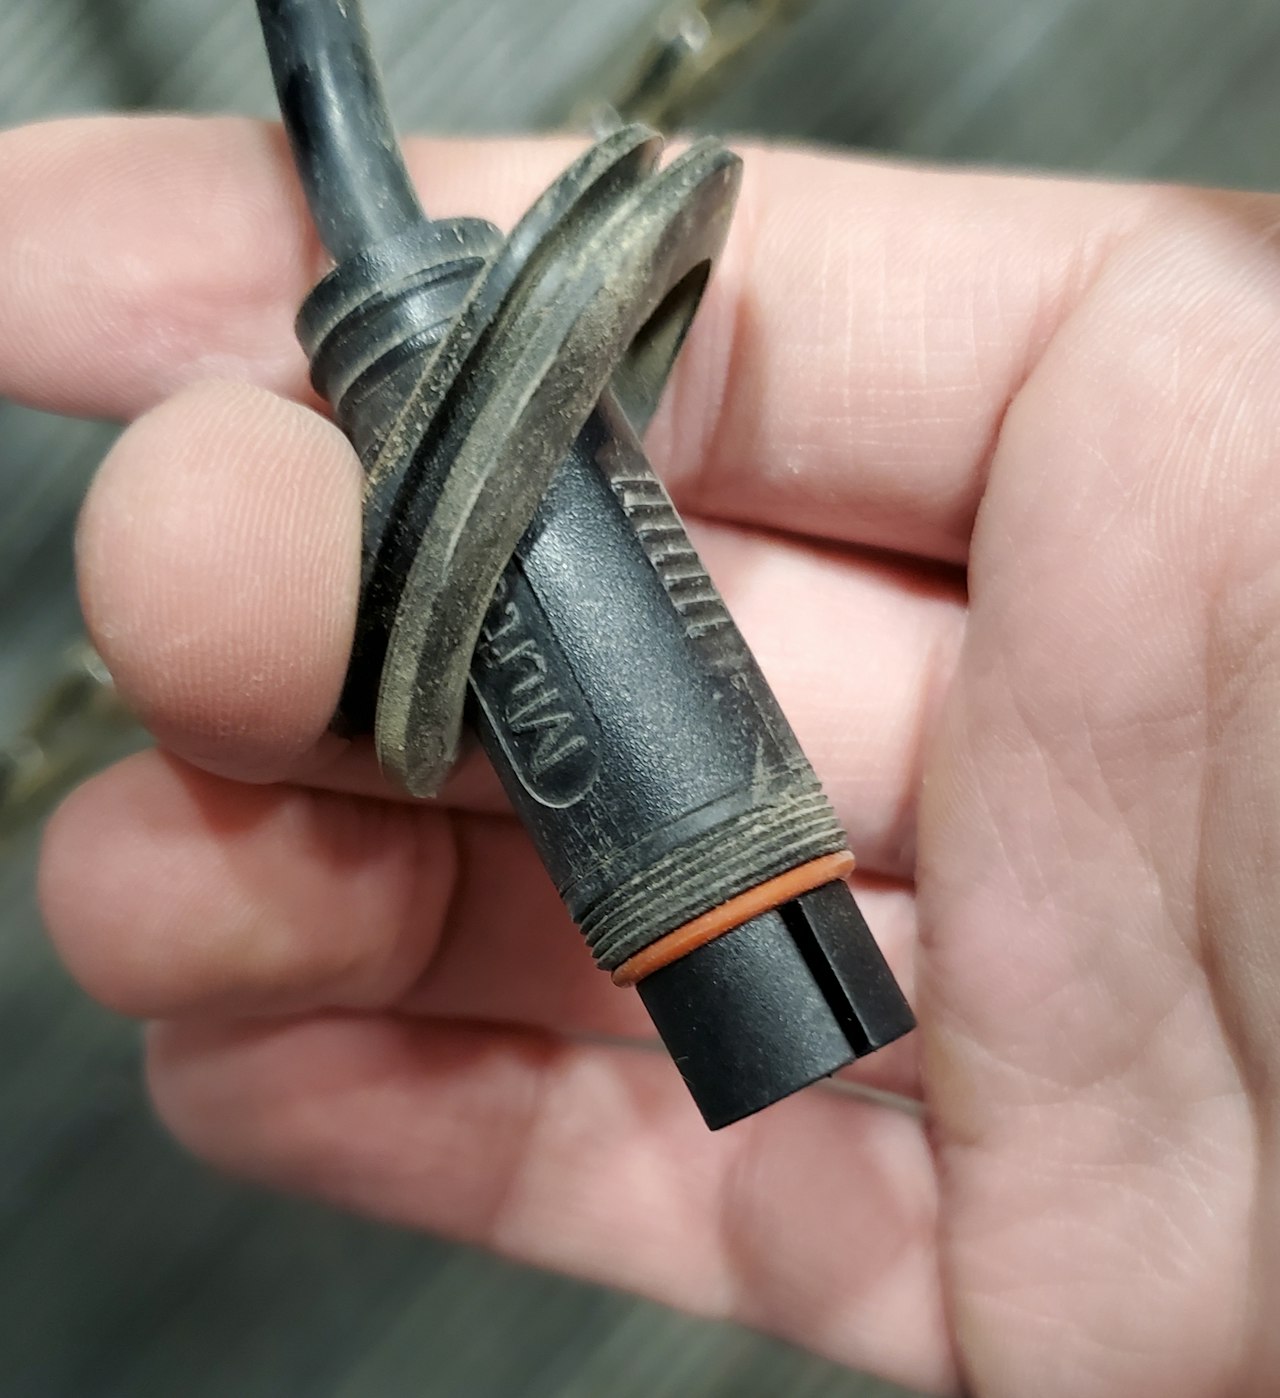
Trace that motor power wire onto the back of the seat tube. There will be a grommet there - remove it from the frame and slide it off of the motor power plug.

Step 3
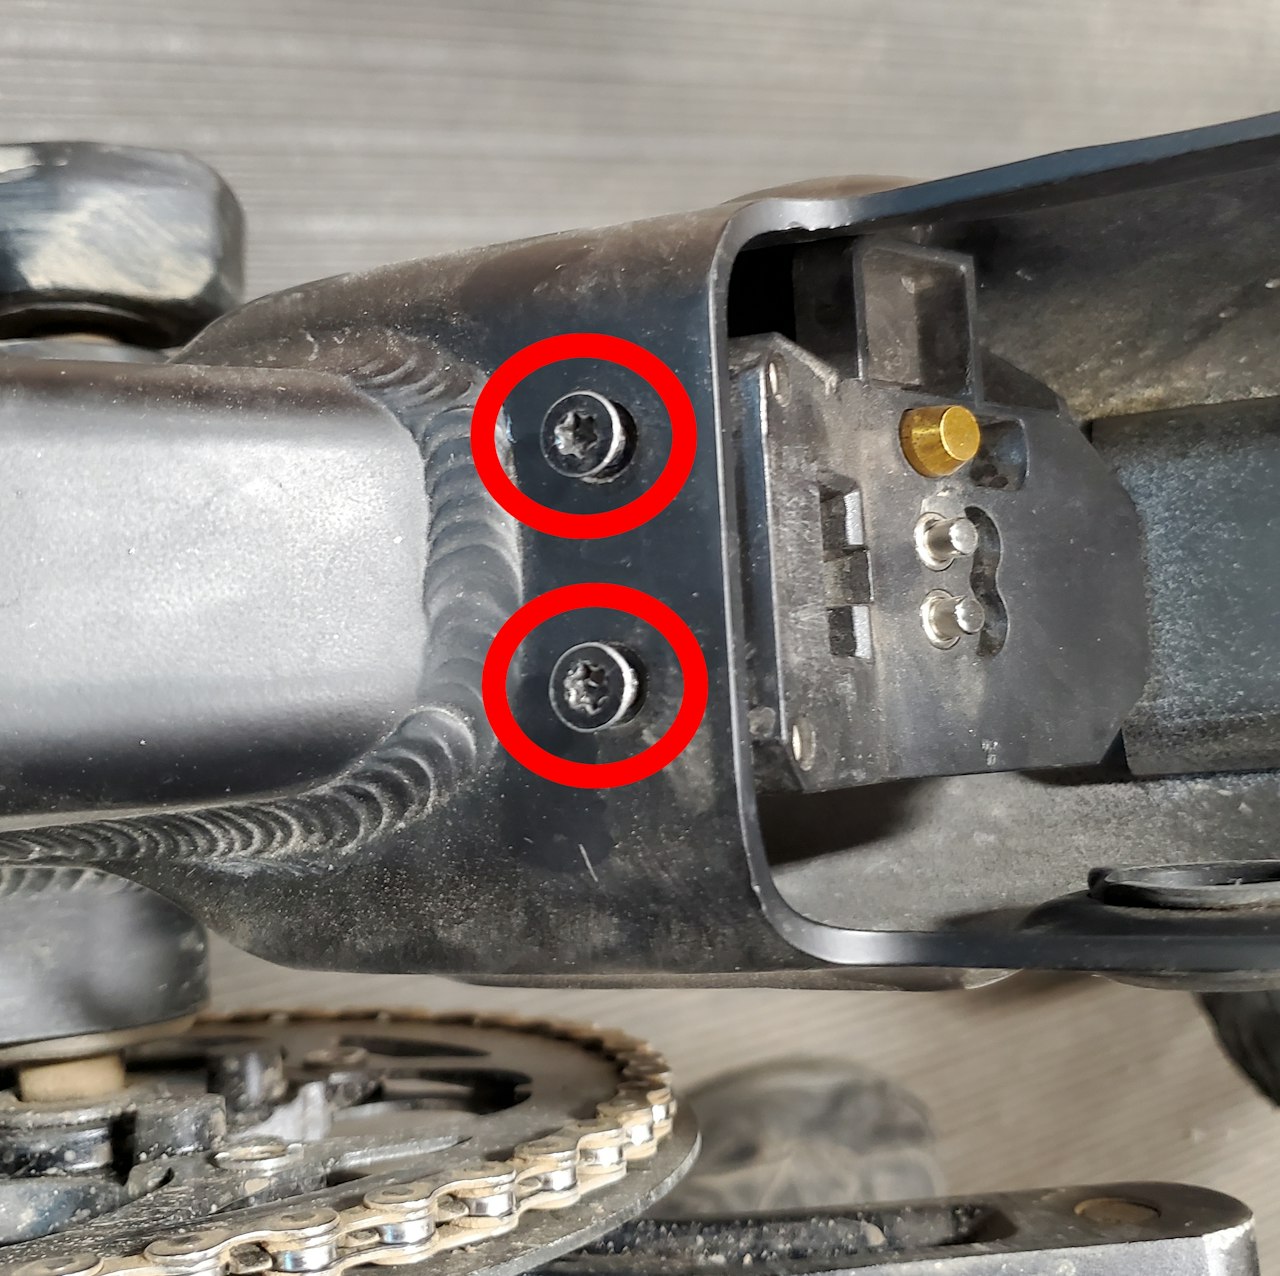
Remove the two circled bolts with a T25 Head Screwdriver. Then remove the bottom battery mount from the bike. You need this removed to create slack in the wires for removal and reinstallation of the controller.
You may need to tile the bottom battery mount to remove it - once the screws are removed it should be able to be easily removed!

Step 4
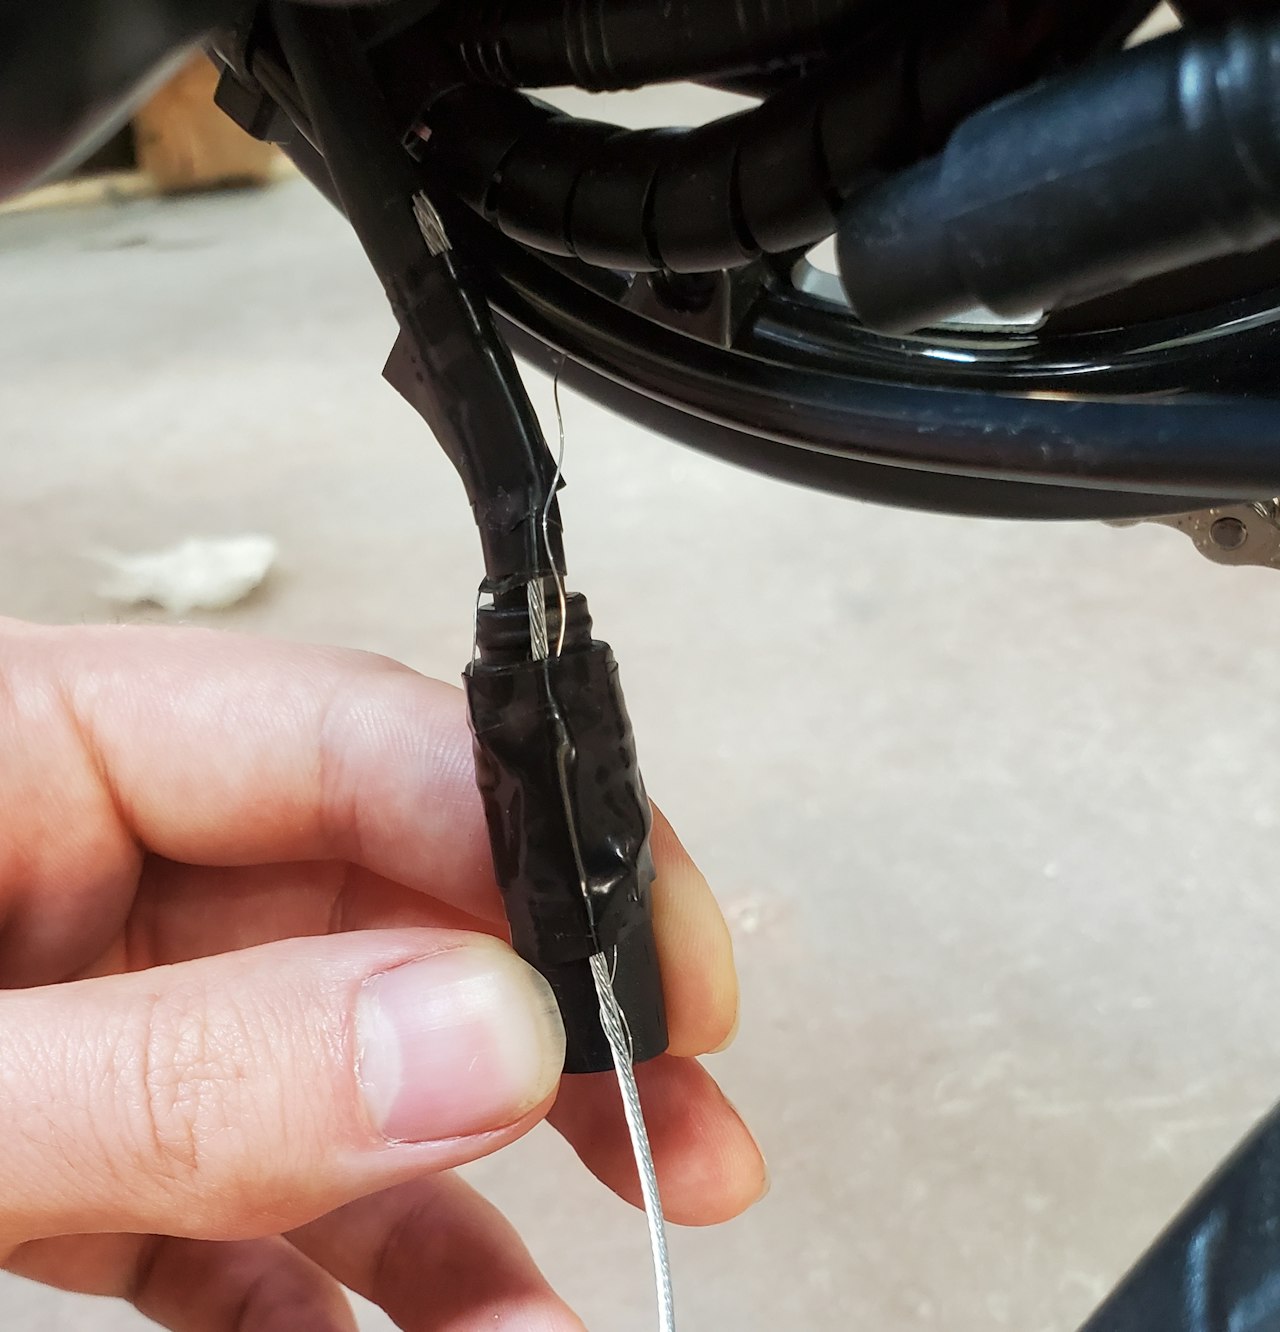
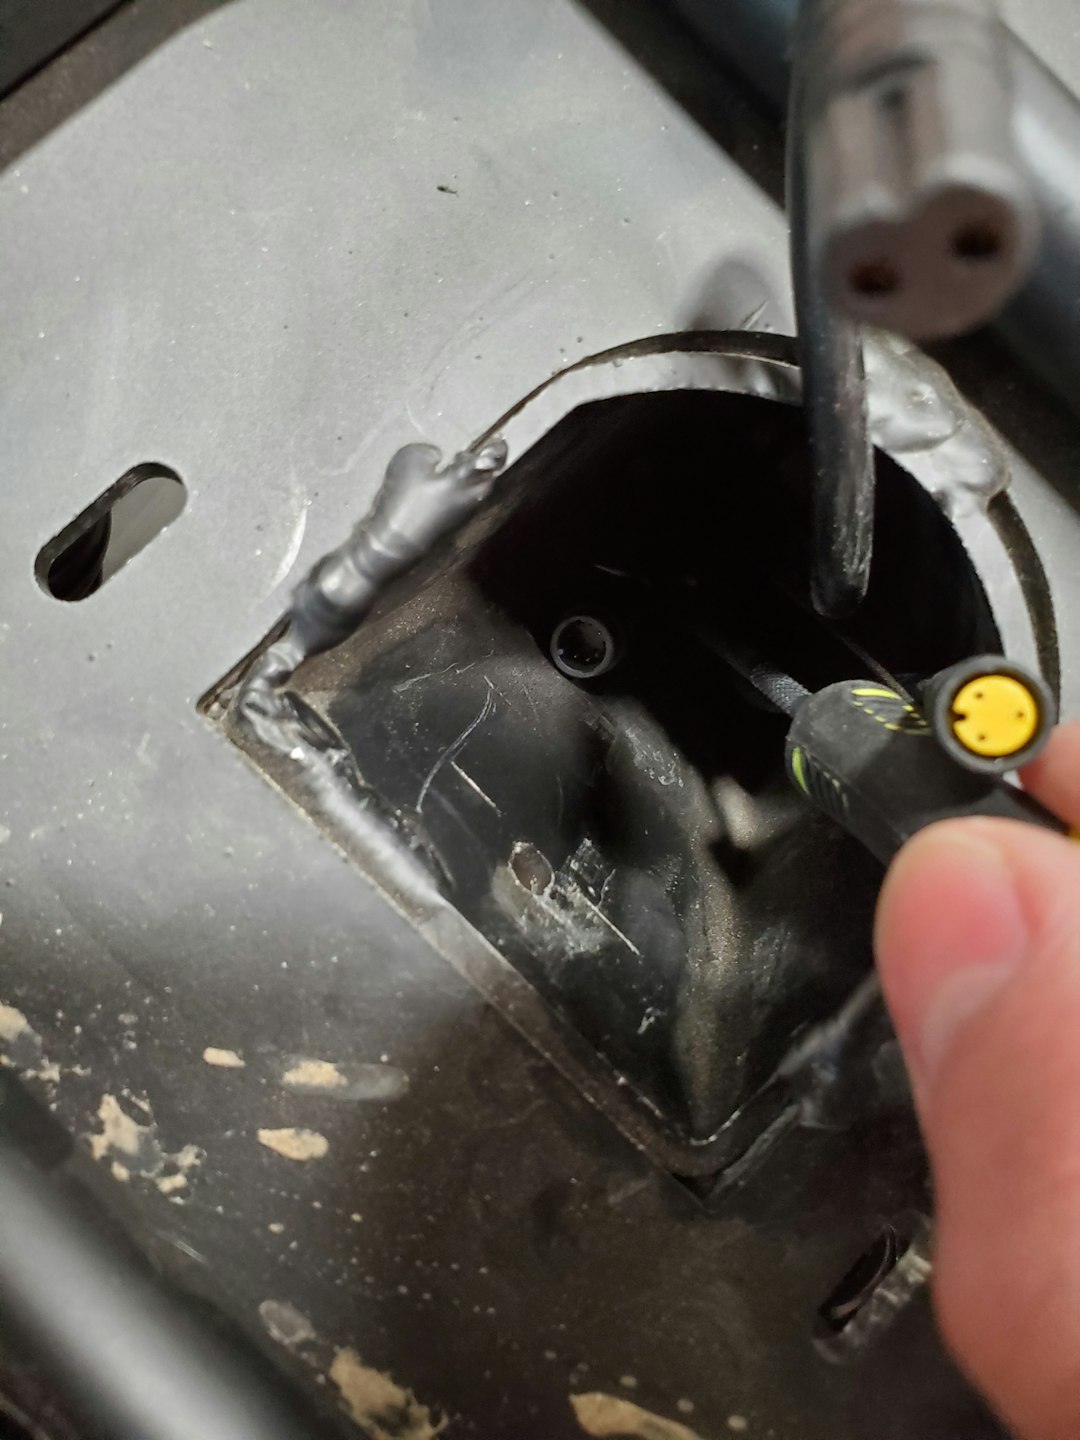
Take the motor power plug, the guide cable and electrical tape. Using electrical tape secure one end of the guide cable to the motor power plug. This is in preparation for the next step.
Pull the controller up and out of the seat tube of the bike - unplugging any connected plugs when they become accessible.
These may be fairly tight but can be disconnected. DO NOT TWIST THESE PLUGS TO DISCONNECT THEM. If they seem stuck gently wiggle them back and forth to disconnect.
Make note of which plugs are connected to what when disconnecting to aid in reinstallation. Taking pictures will help!
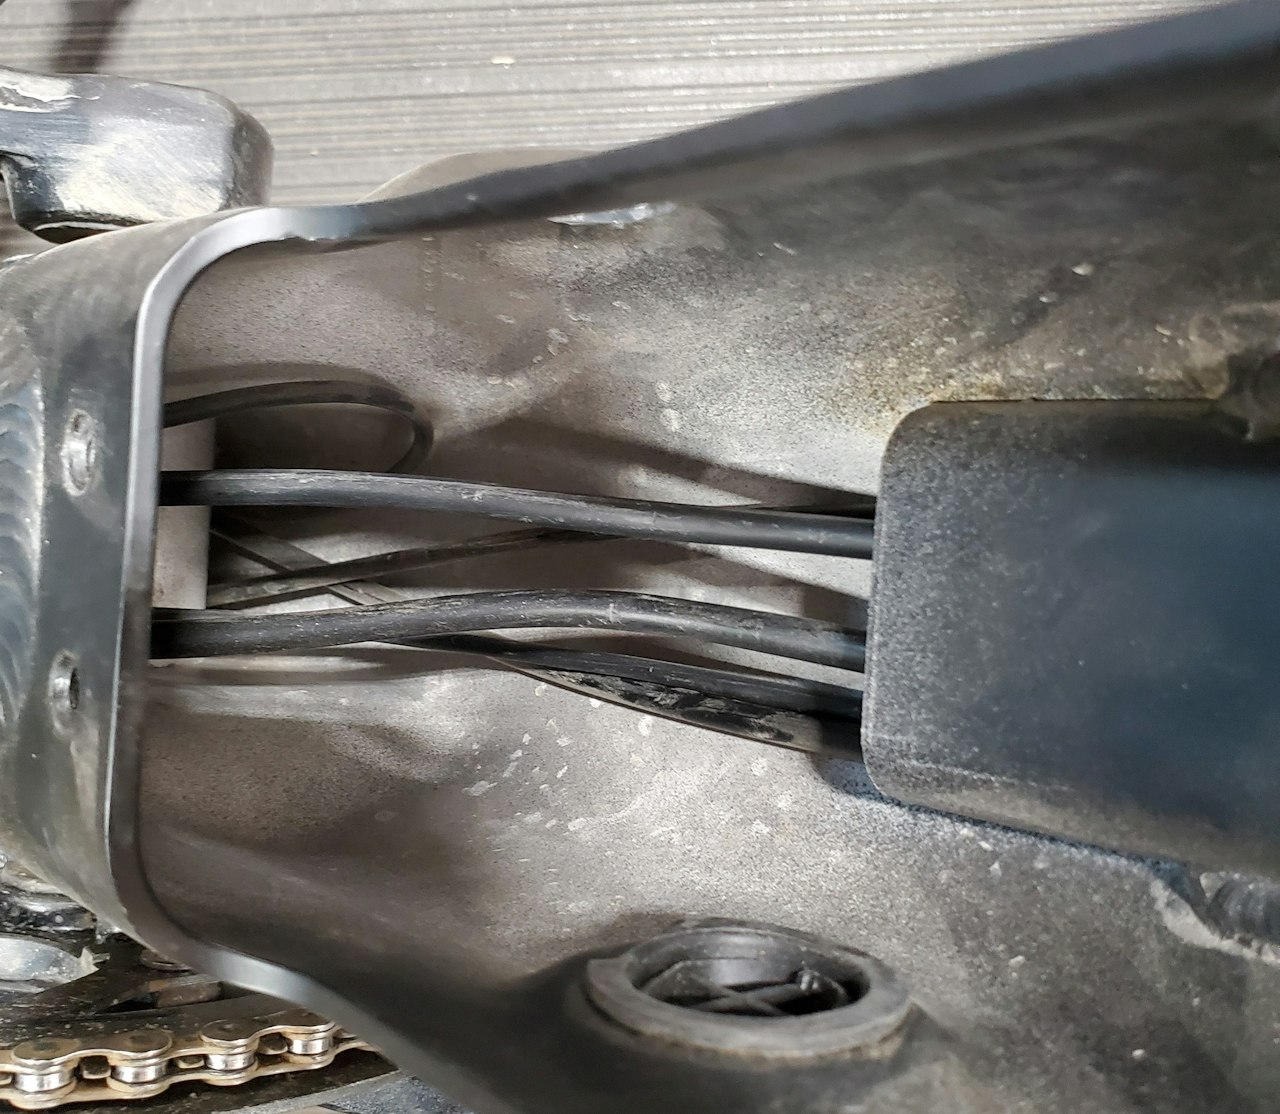
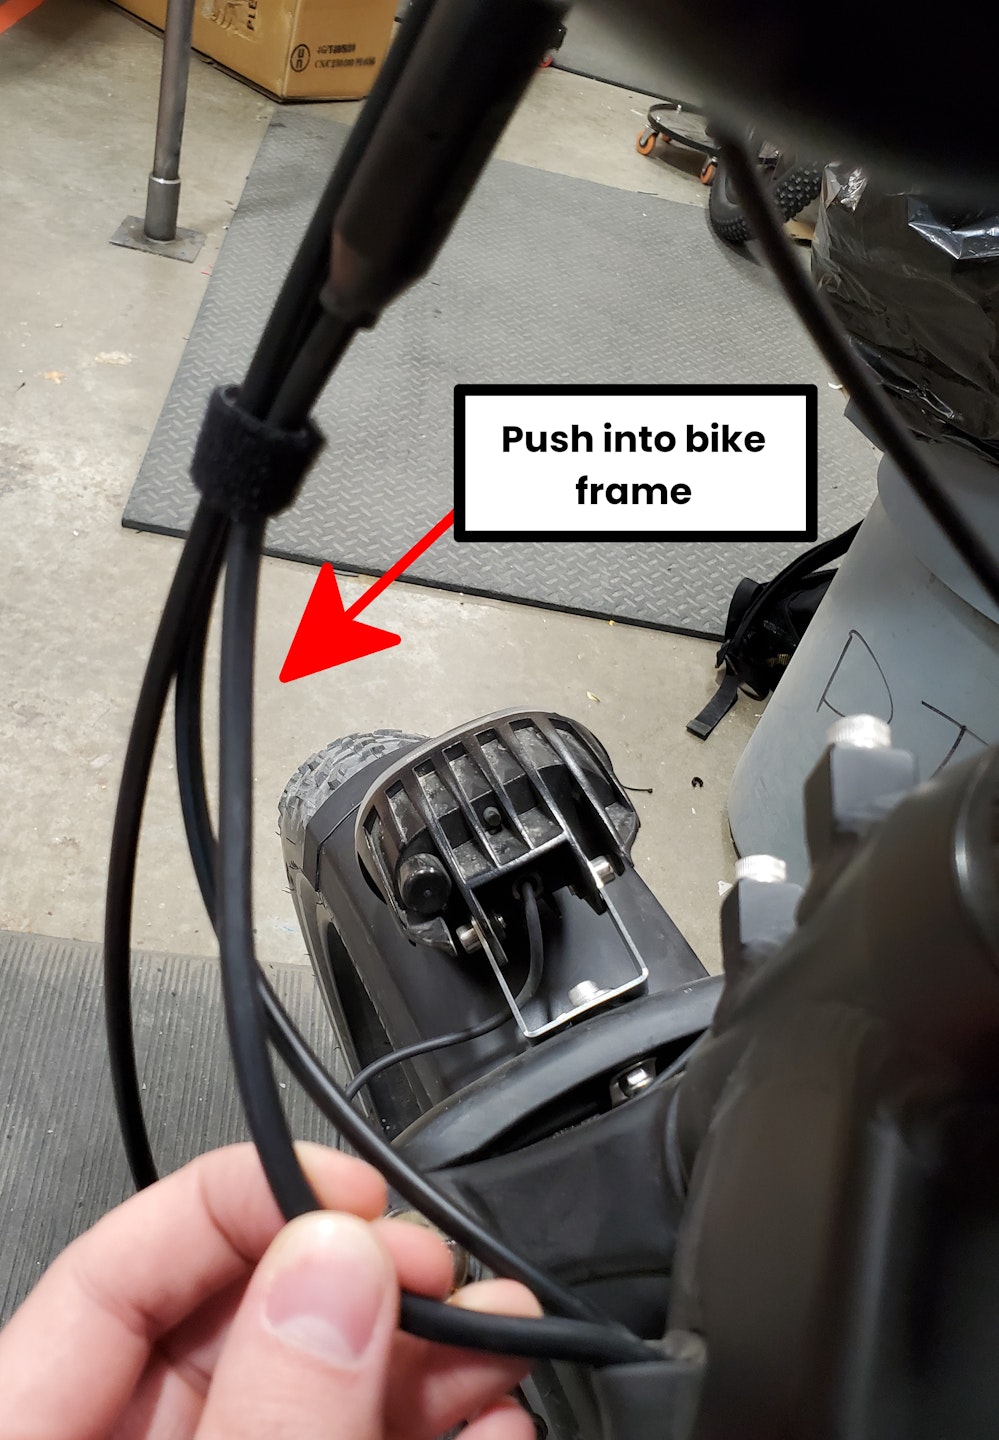
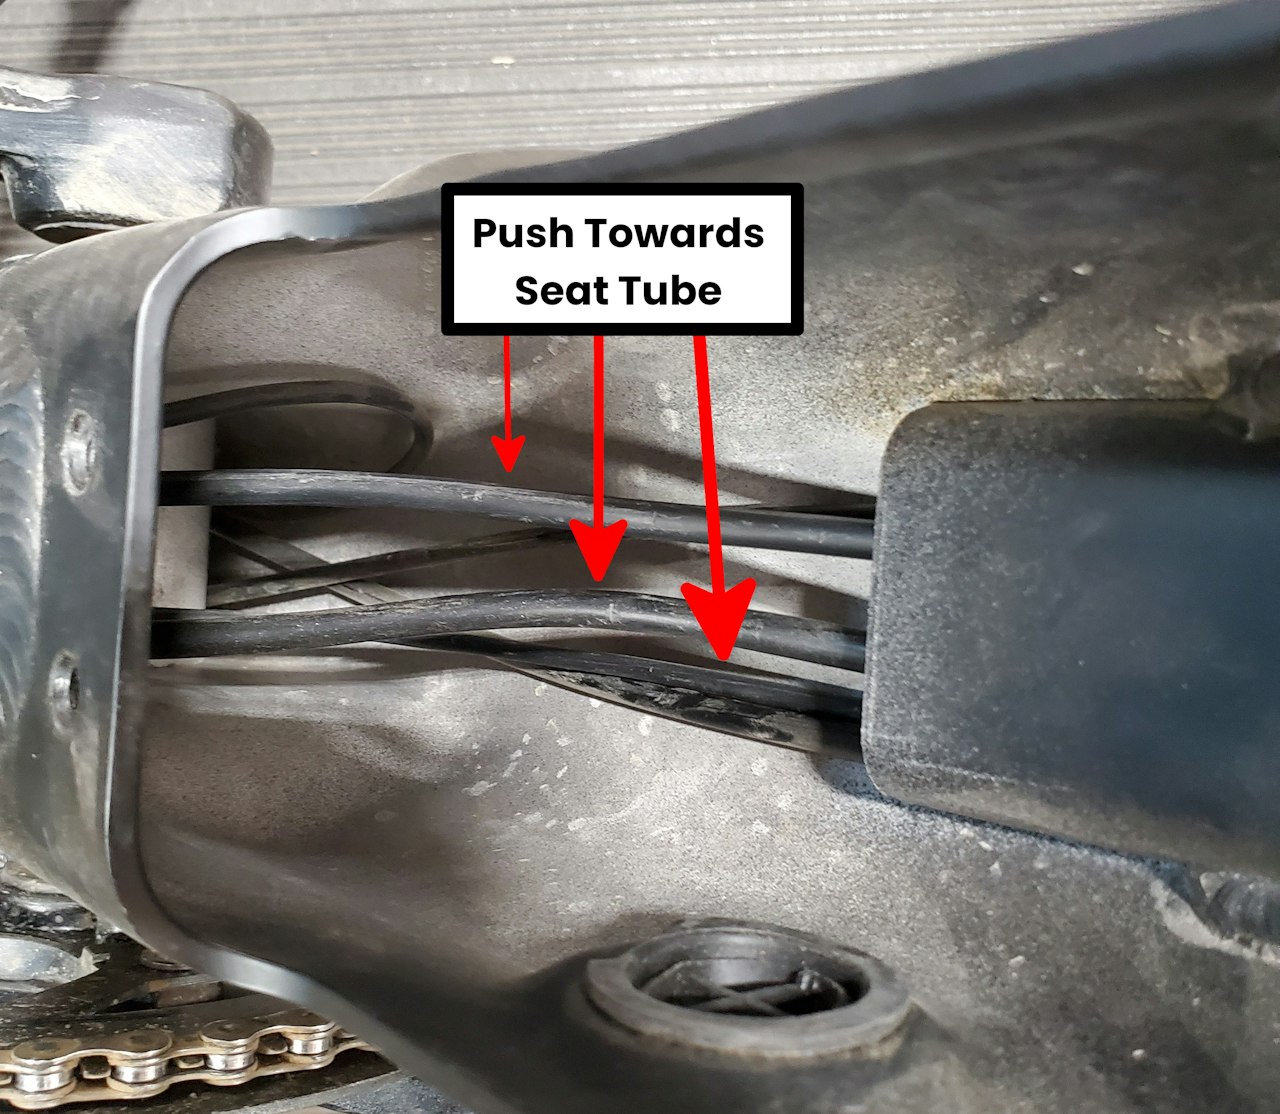
If plugs are not easily accessible you may need to push the wires up into the frame further. To do this locate the wires coming off of the handlebars, push them further into the bike frame, then push them further into the seat tube at the location opened up by removing the lower battery mount.
The motor power plug should still be outside of the bike seat tube at this point.

Step 5
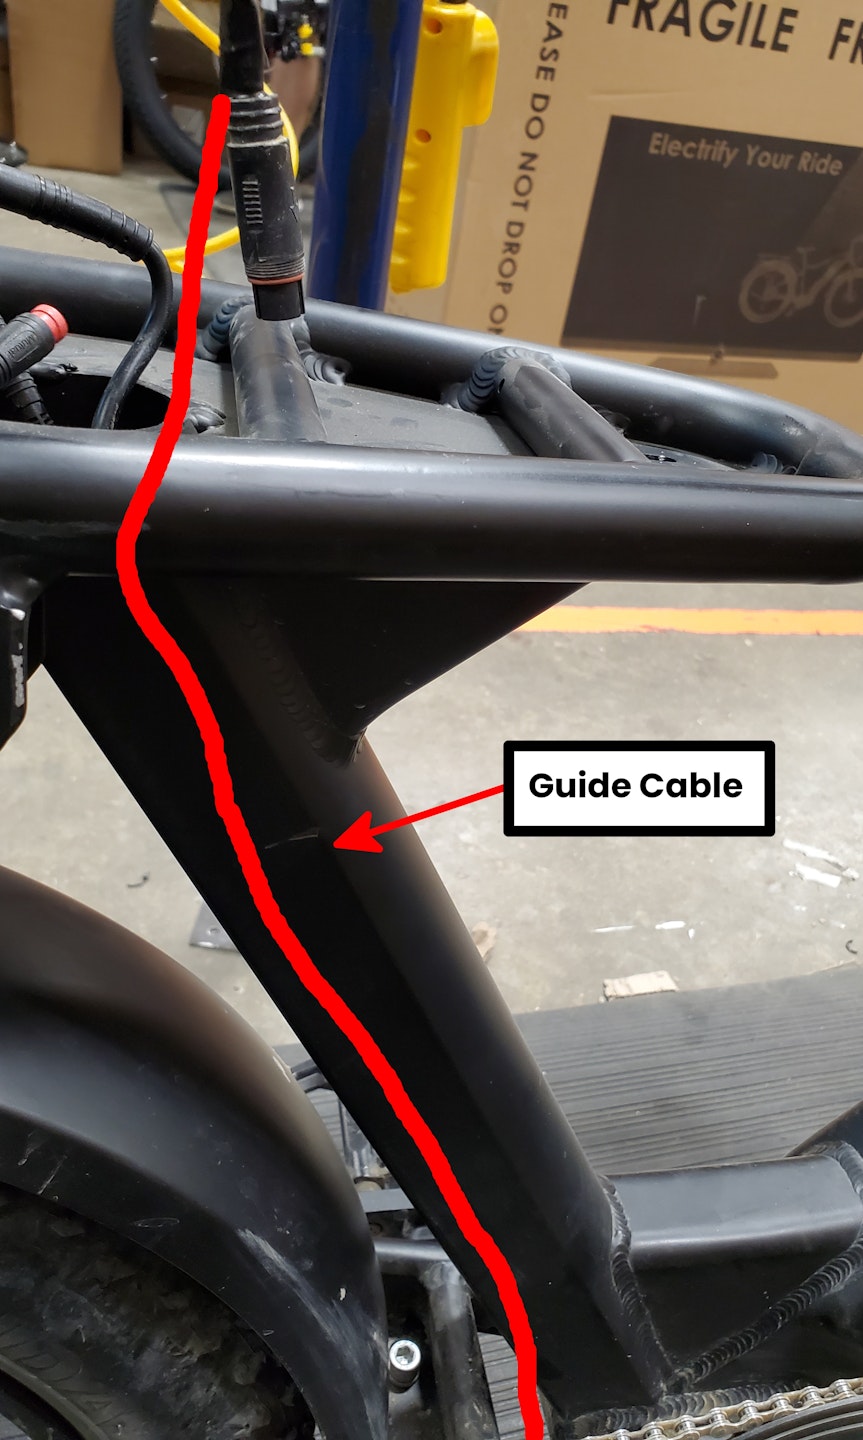
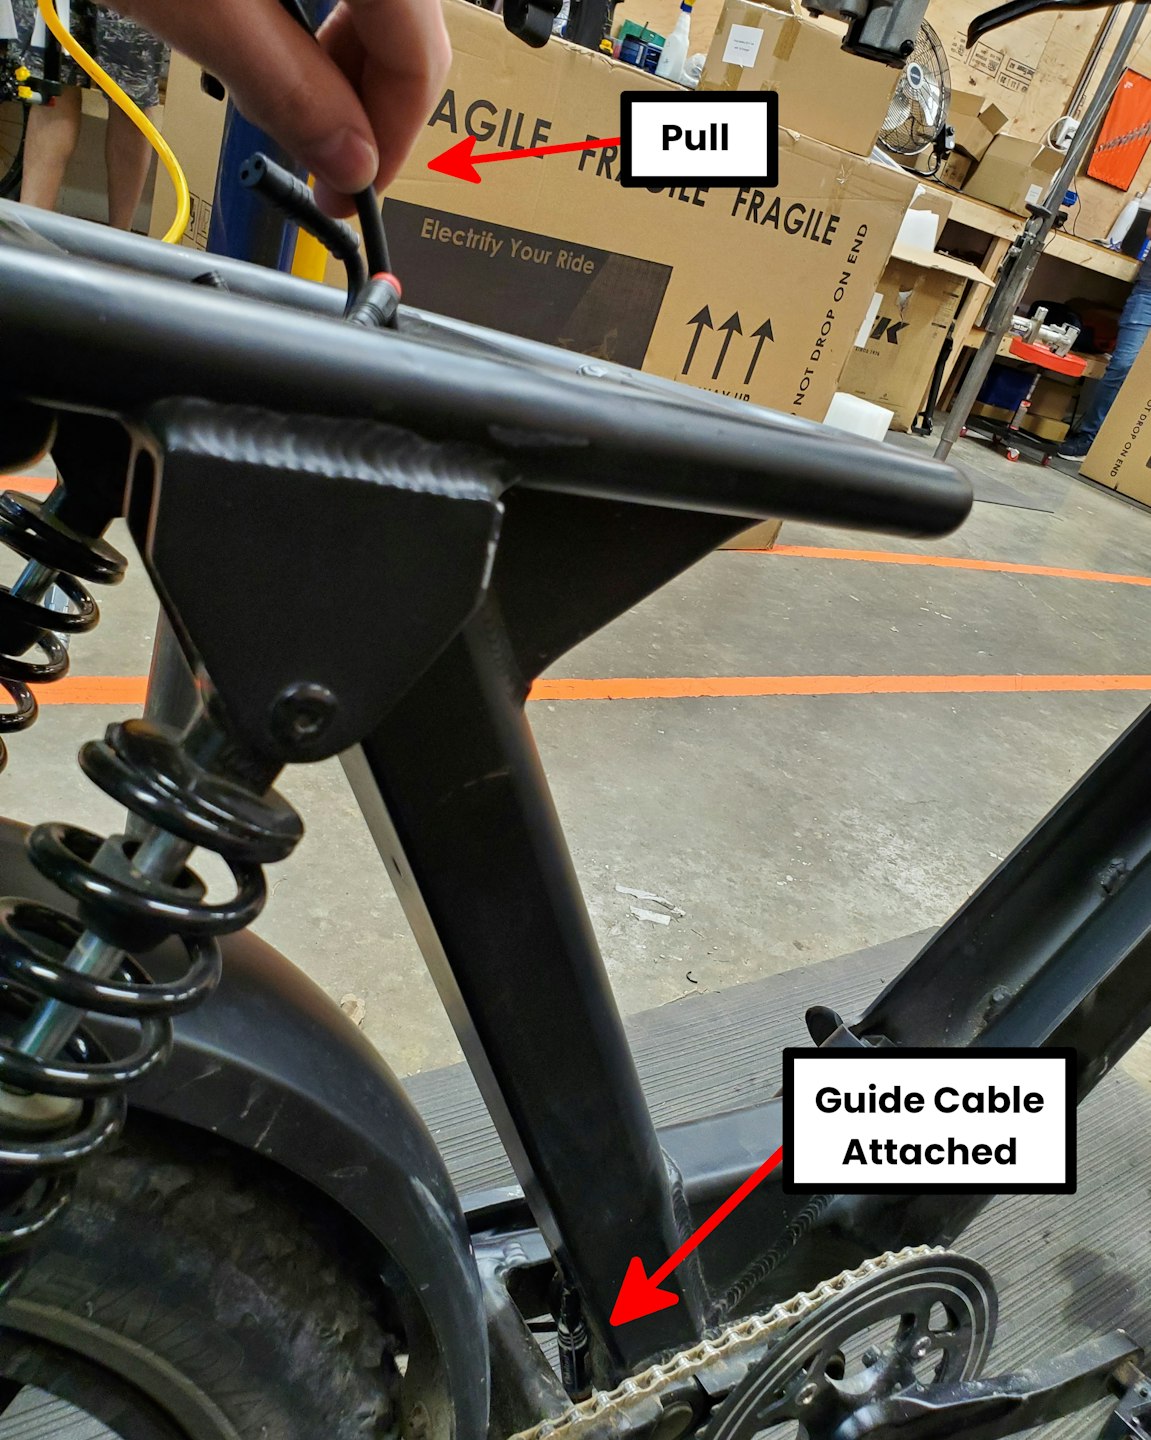
Push the motor power plug into the frame of the bike gently - ensuring the guide cable remains connected. Then Gently pull the wire our from the top tube of the bike.
When done you will have the guide cable running from the top of the seat tube to the bottom as illustrated in the second image. You can then remove the guide cable from the motor power plug.
Ensure the guide cable remains within the bike - you will need it for the next steps!

Step 6
Take your new controller and plug it into each connector. Ensure arrows on each plug are lined up when plugging the connectors into the controller!
If you are having trouble on getting the bike ends of any plugs which need to connect to the controller push them up into the seat tube using the same method outlined in "Step 4" of this guide.
You may also need to reach into the bike frame with a poke or some pliers to get a better grip on the plug.
Tape the Motor Power Plug end of the controller to the top of the Guide Cable that you ran through the frame in the previous step. Ensure you tape it securely!!!
Push the motor power plug down into the seat tube then pull on the other end of the guide cable to fish it through the bike.
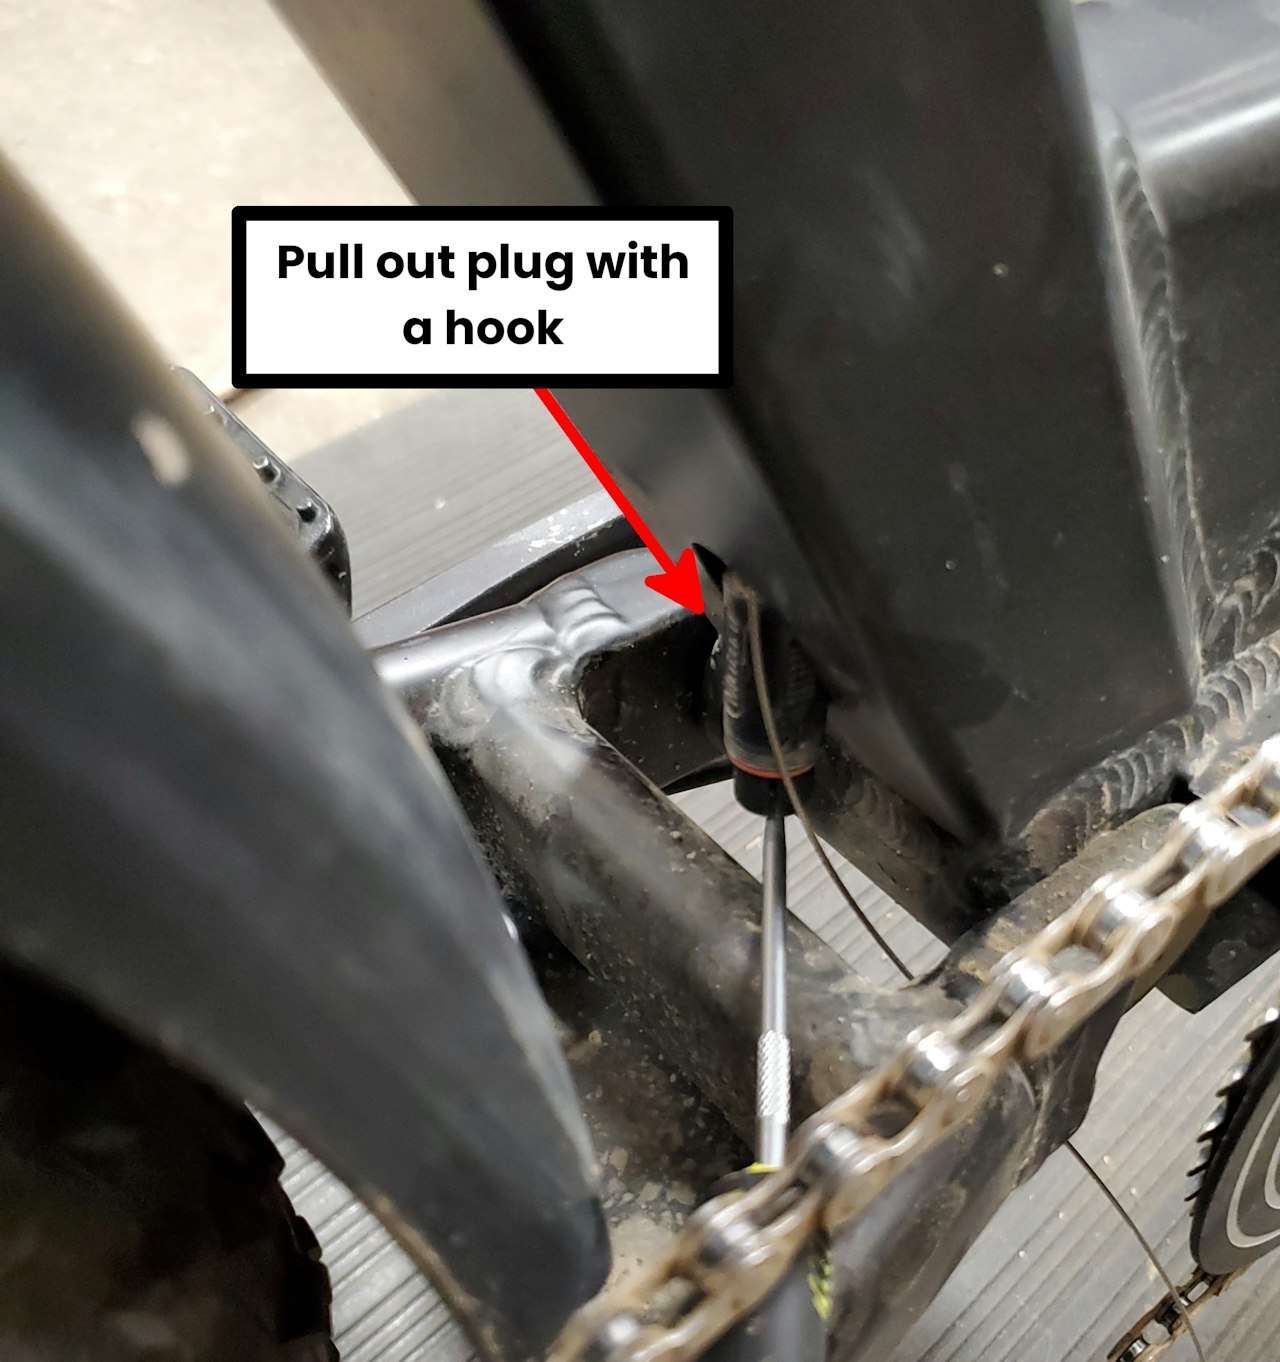
When the Motor Power plug is near it's exit point on the bike's seat tube you may need to use a hook tool to pull it out of the bike frame! When the plug is removed you can undo the tape and guide cable attached to it.

Step 7
At this point, you should have all connectors of your replacement controller plugged into the bike. If you do not plug them all in.
Using the 3mm Allen Key reinstall the two bolts holding the controller to the seat tube. First, push the controller into the seat tube and line up the bottom bolt hole of the controller with the frame. This may take some coordination in lining it up!
With the bottom bolt halfway threaded in attach the top bolt. With both bolts attached to the controller fully tighten them up.
Pull any cables by the handlebars that you may have pushed in. Then reattach the bottom battery mount by reversing the steps you took to remove it.
Reattach the seat to the bike by following the reverse of how you removed it from the bike - taking care to lie up the bolts and not cross thread anything.
Plug the motor power connector back unto the bike ensuring you line up any arrows before connecting! THen attach replacement zip ties for any you may have removed from the bike.
Reinstall the battery and turn on the bike.

