
Introduction
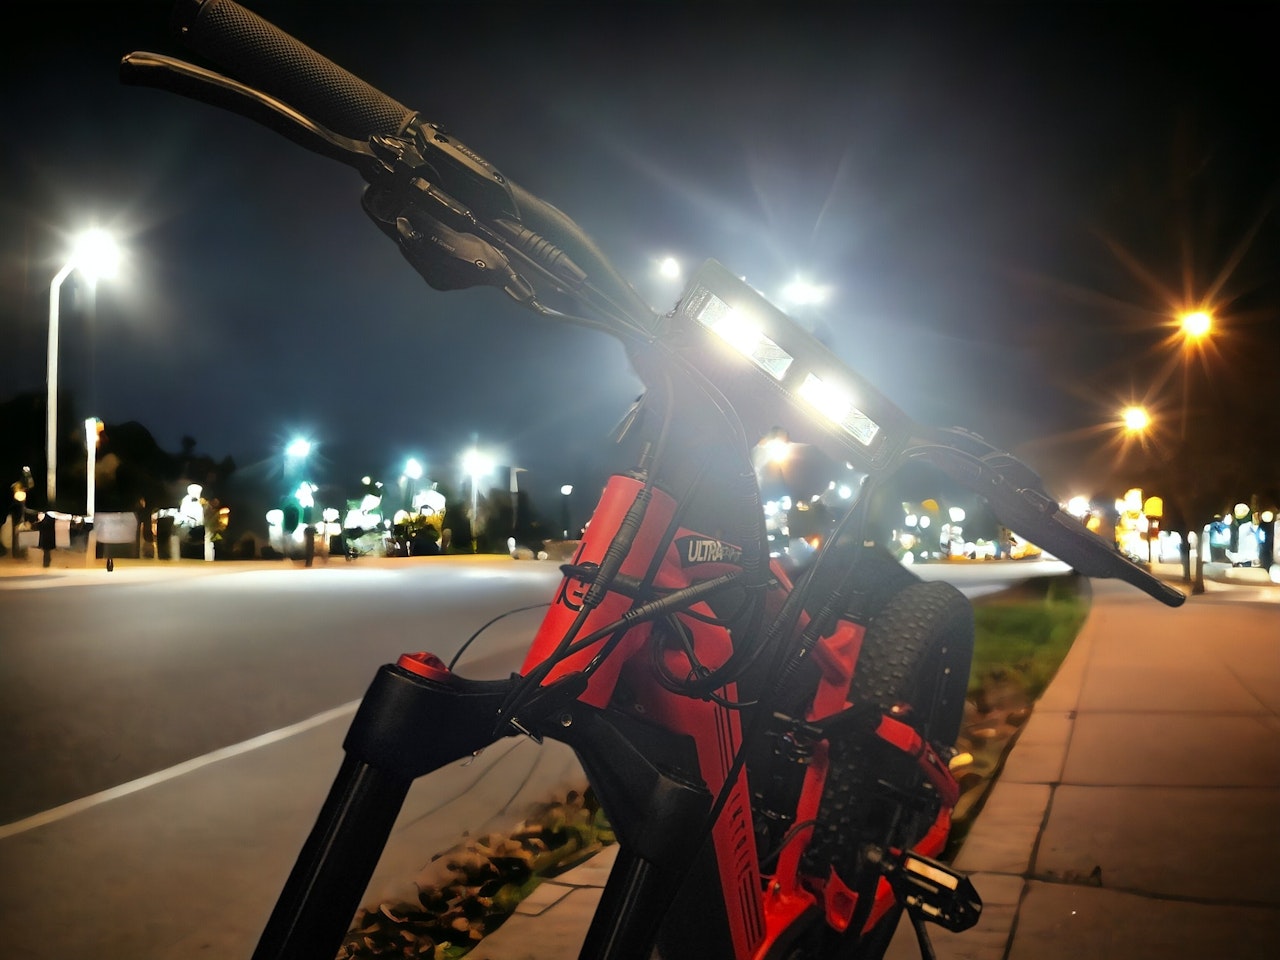
Congratulations on your purchase of the new Plug & Play Armageddon Headlight from Biktrix! Ready to install your new light to brighten up your riding? Check out the attached manual below or keep on scrolling here for instructions on installation!
Step 1
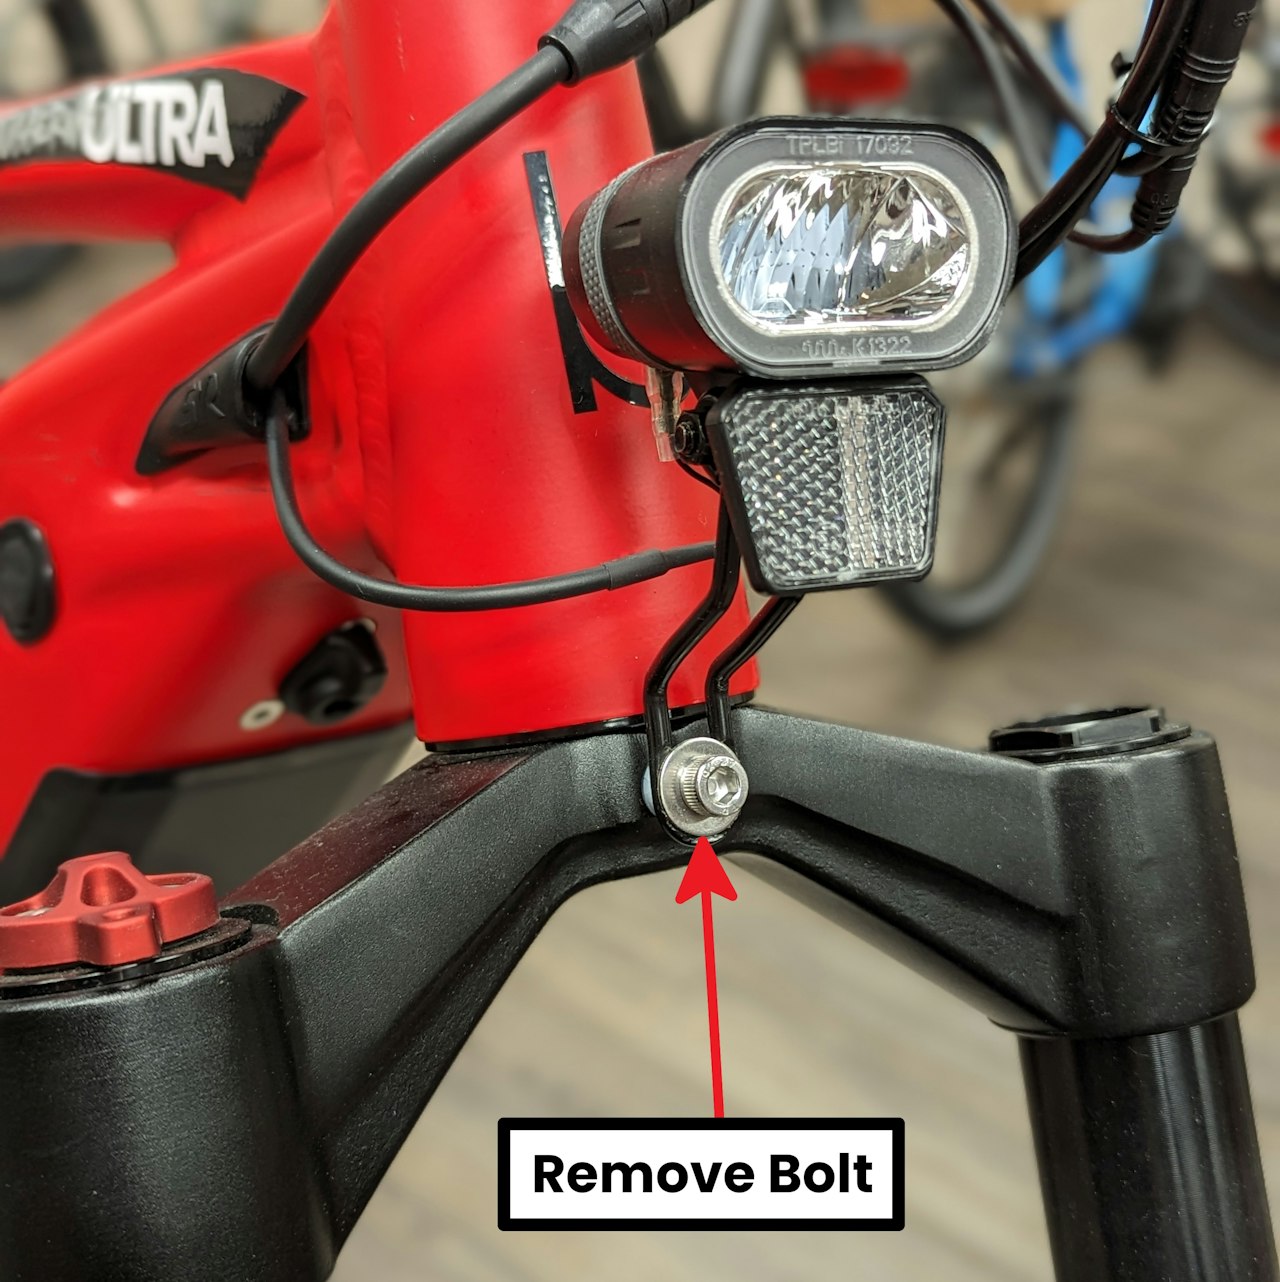
To start you must remove the eBike's stock headlight. Do this by reversing the steps you followed to install the headlight initially assembling your eBike! With the headlight physically removed from the bike but still plugged in move to the next step.
Don't have the standard headlight installed yet? Perfect! Skip installing it and move to the next step!

Step 2
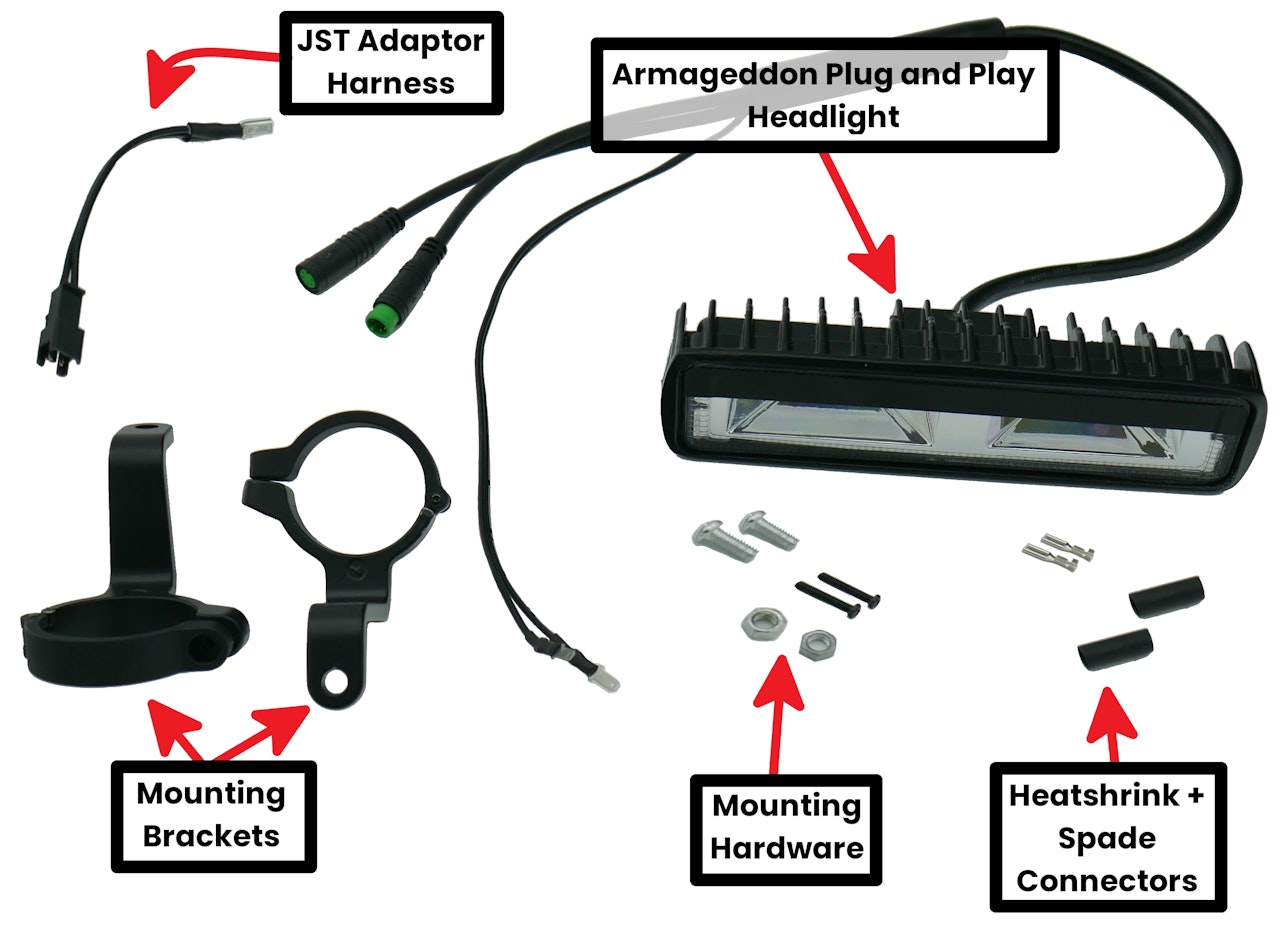
Unpack your Armageddon headlight from its packaging and confirm you have the required parts for your installation.
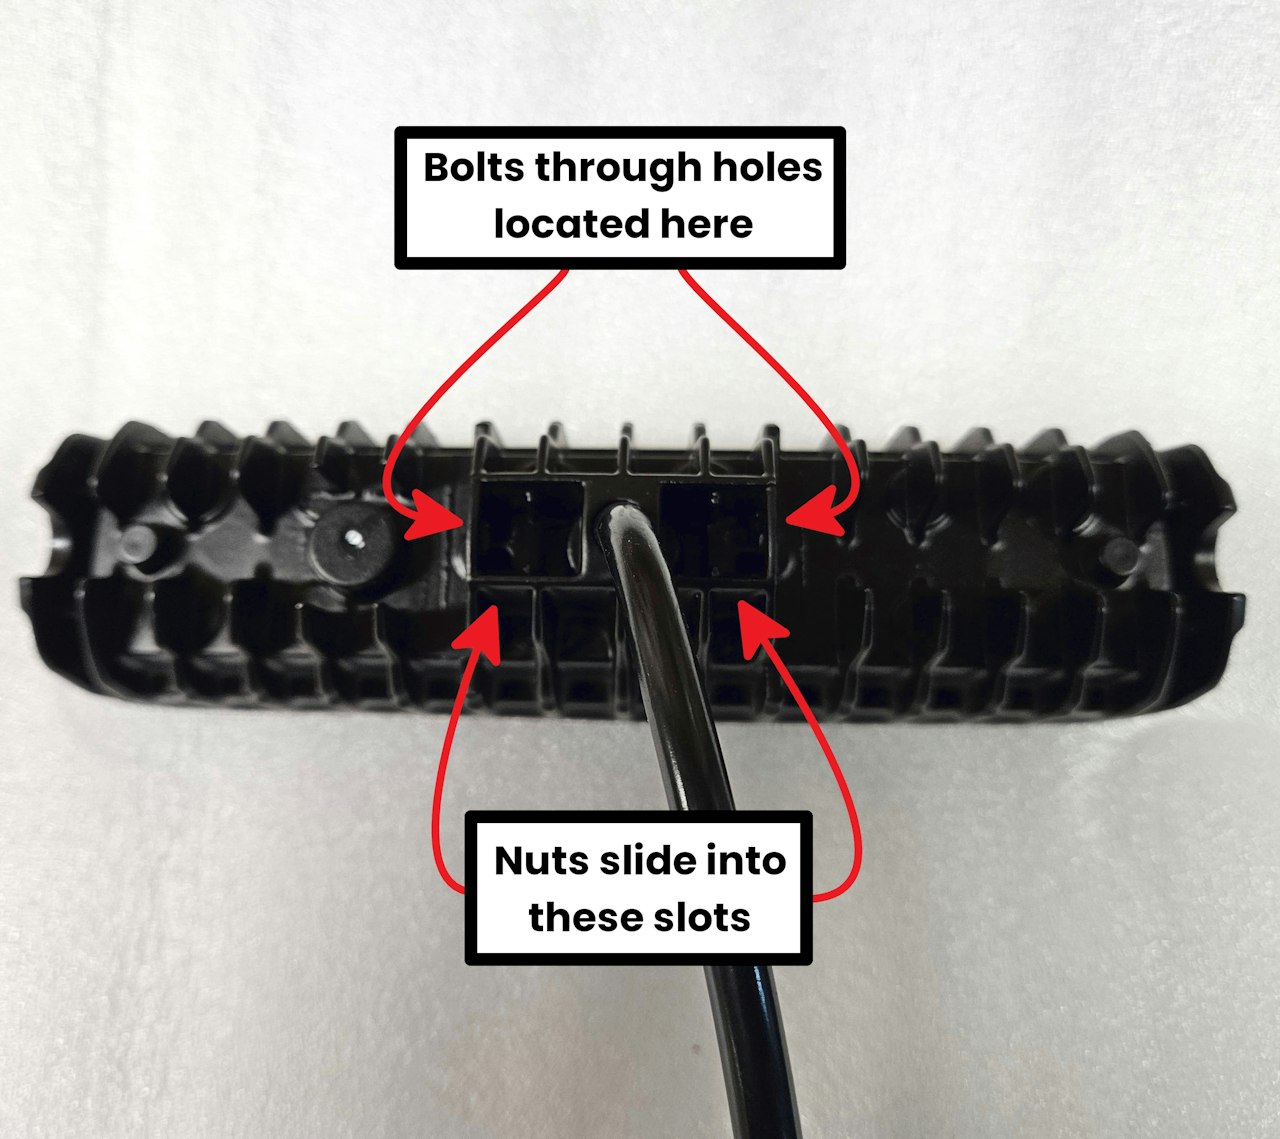
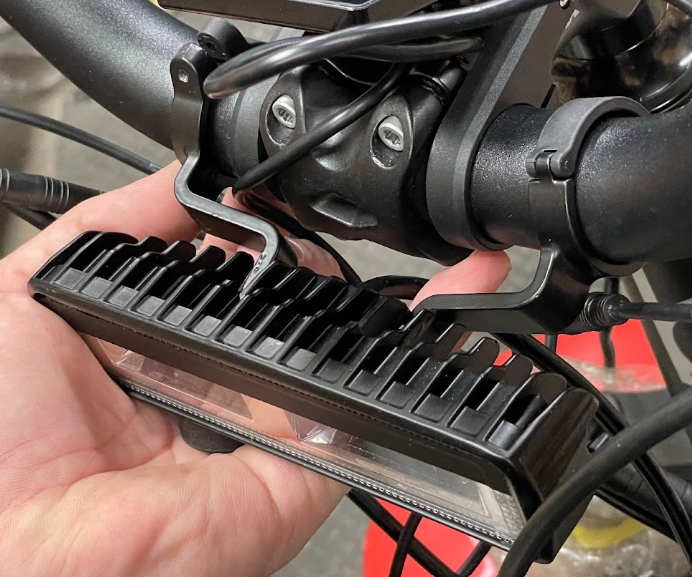
Locate the mounting bolt holes on the headlight along with the corresponding hardware. Use a Phillips Screwdriver to attach the headlight brackets to the light using the steel bolts and nuts labelled as the Mounting Hardware.

Step 3
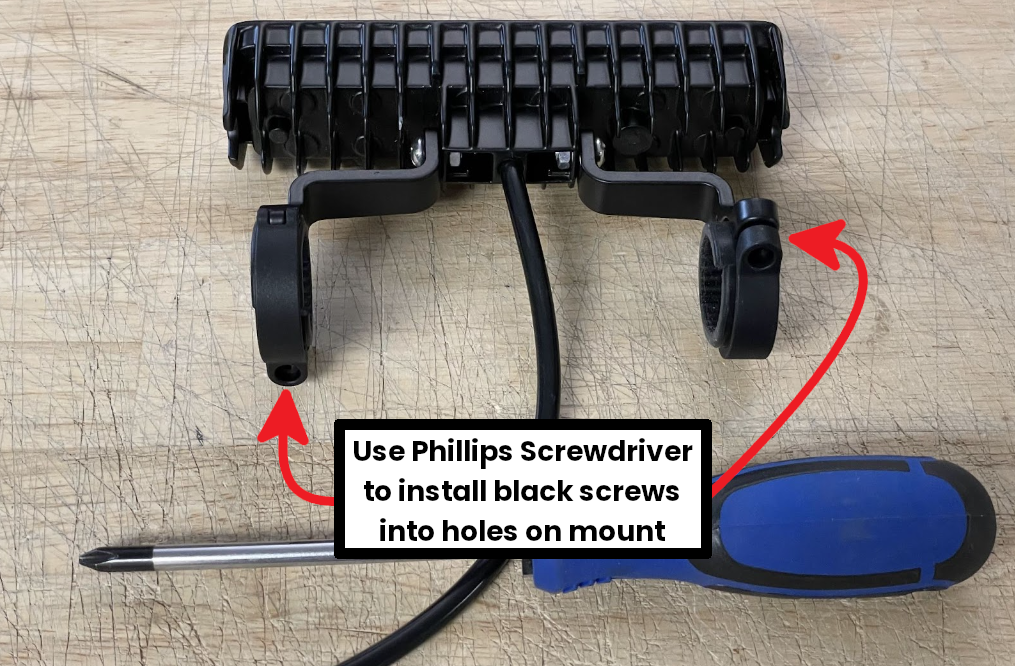
Unclamp the handlebar brackets and clamp them onto the handlebars. Secure them with the included black screws and a Phillips screwdriver.
Adjust the angle of the headlight to shine on the ground in front of your bike. Position as per your preference - this can also be changed later! Then, tighten the screws to keep the headlight secure.

Step 4
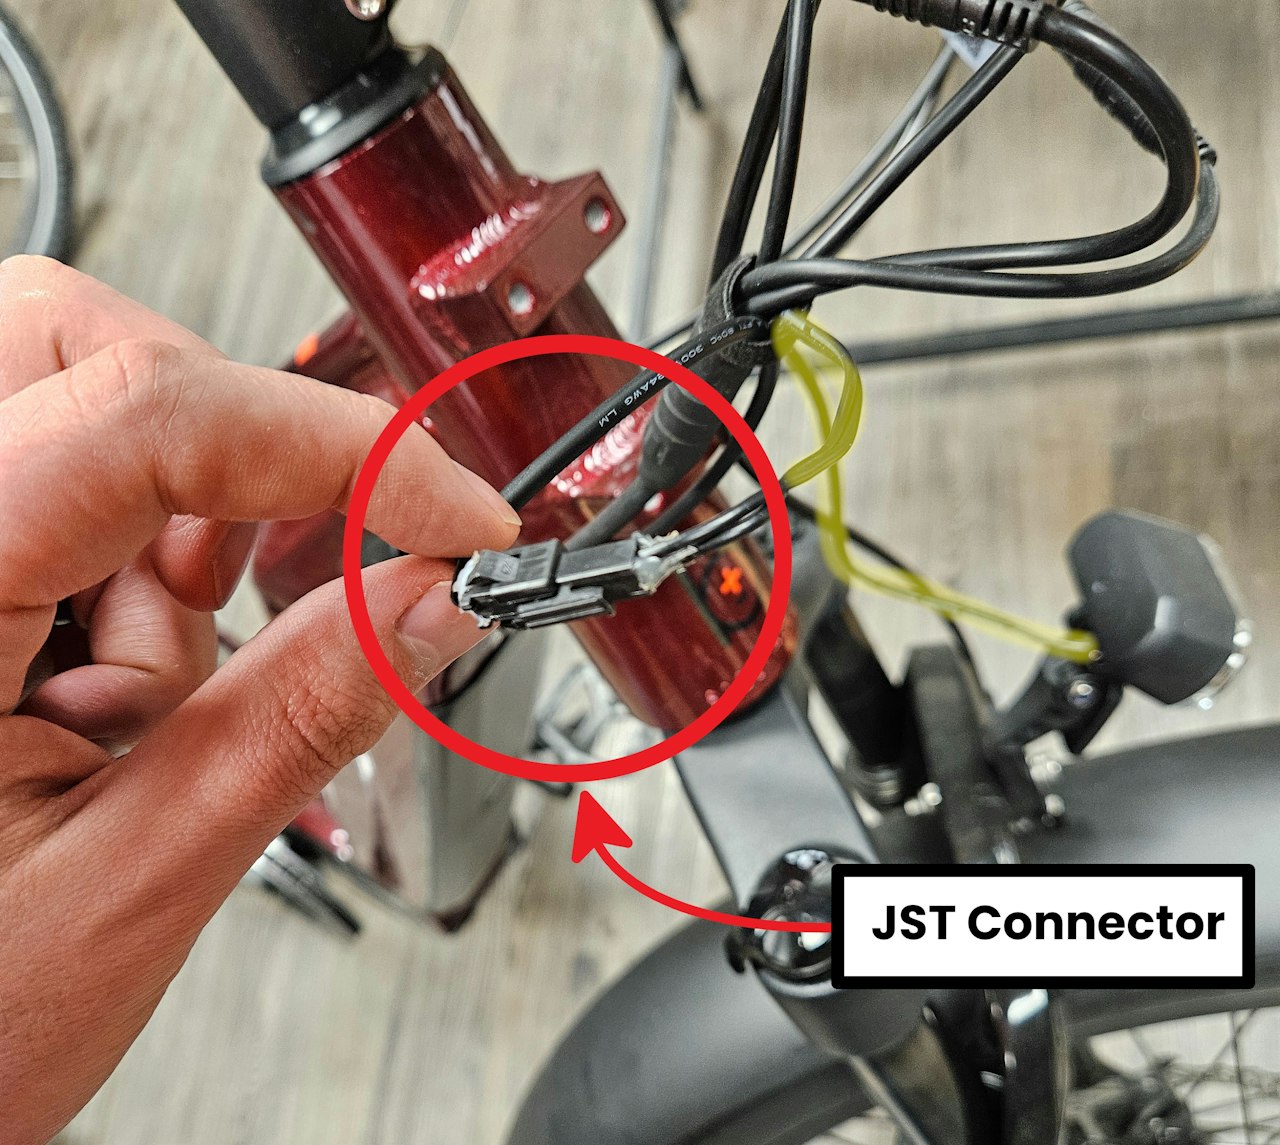
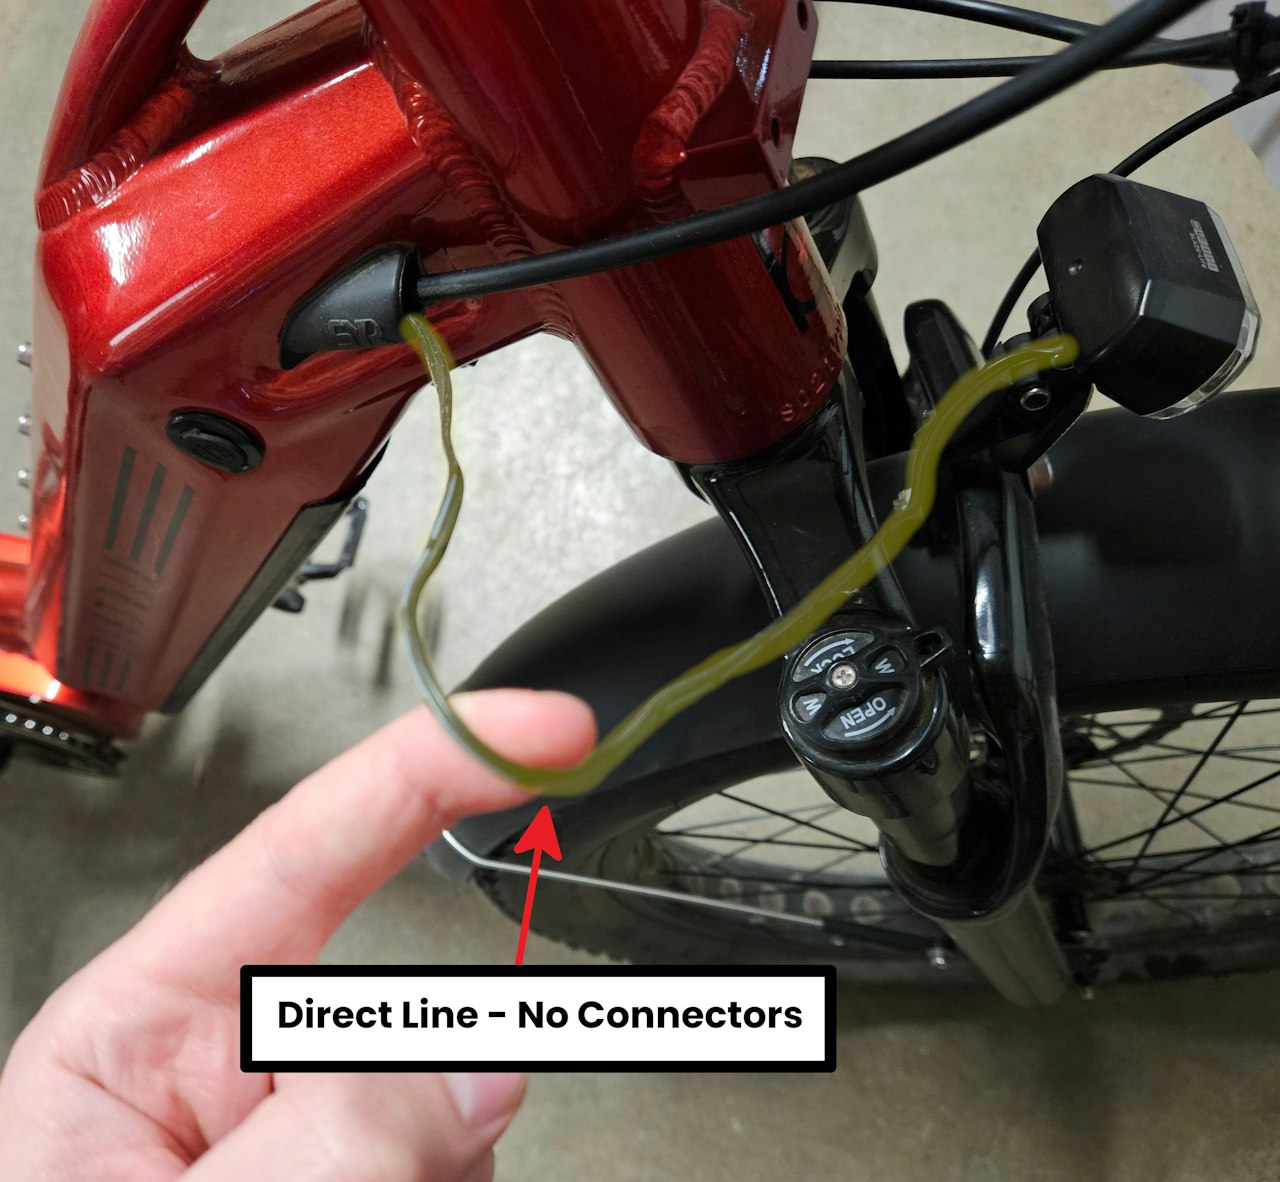
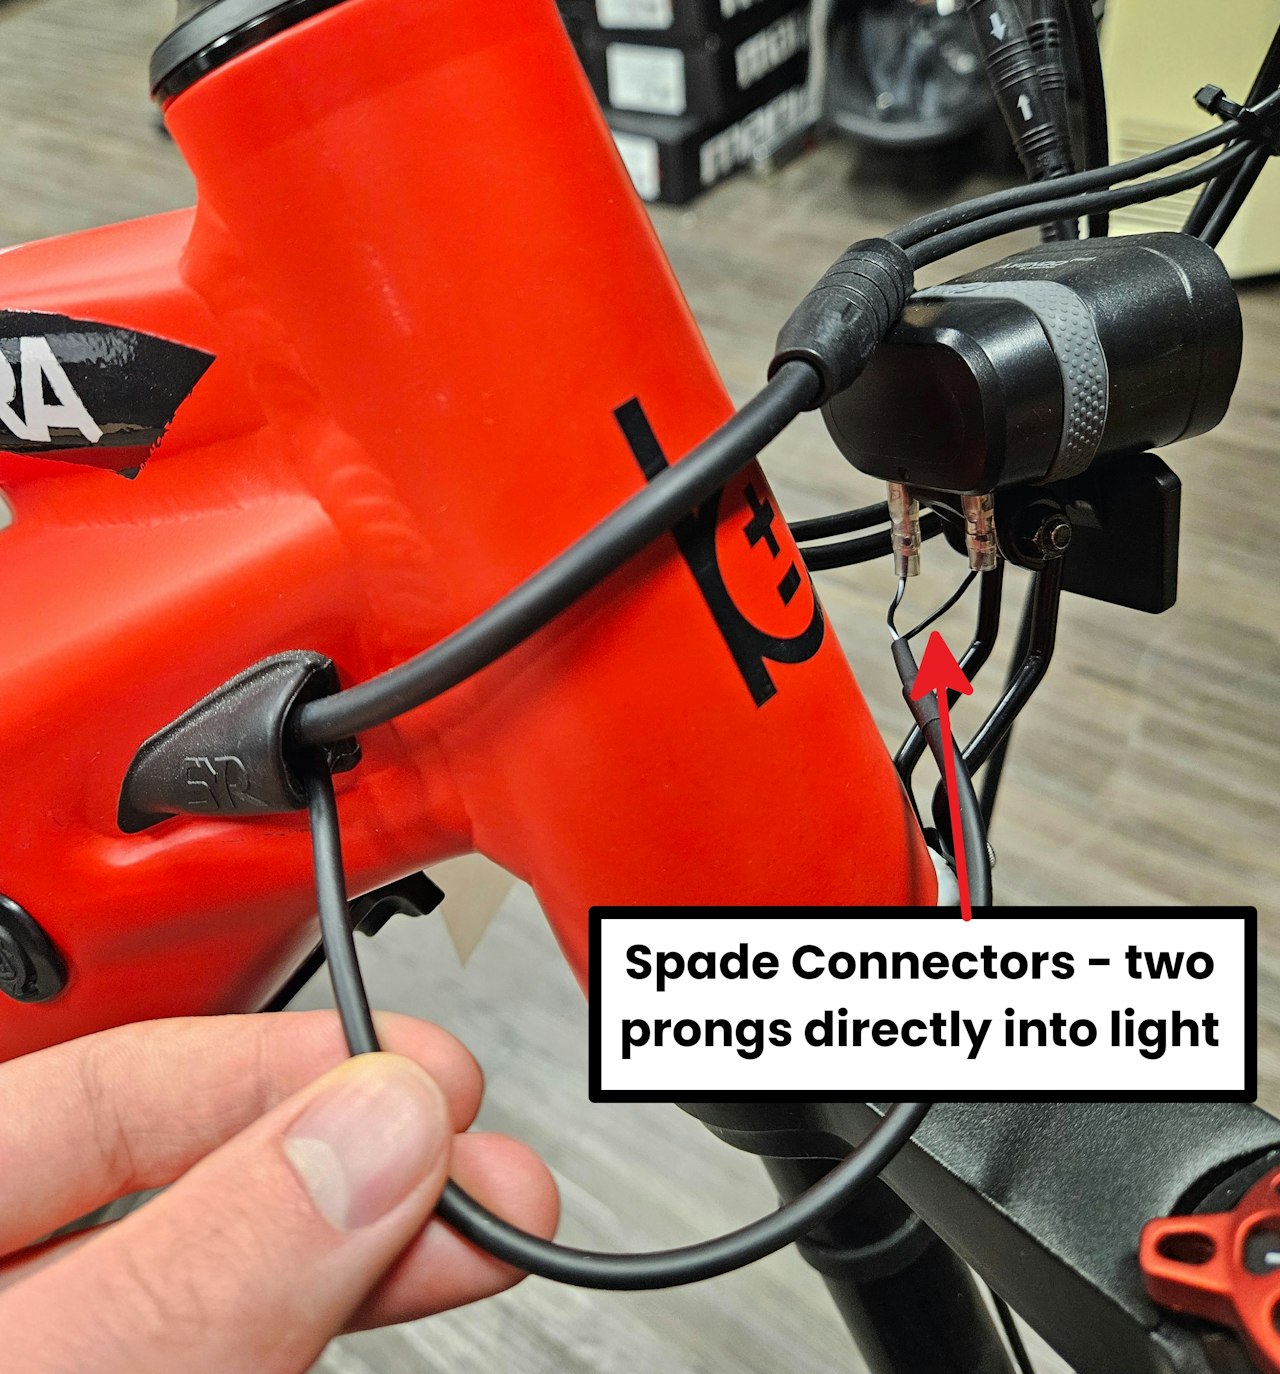
You will now need to connect the headlight wires of the bike to the headlight. Check your bike and consult the attached images to determine the connection style found on your eBike.
Spade Connectors
JST Connector
Direct Line
Select the Connector Style you see on your eBike for the steps related to it.

